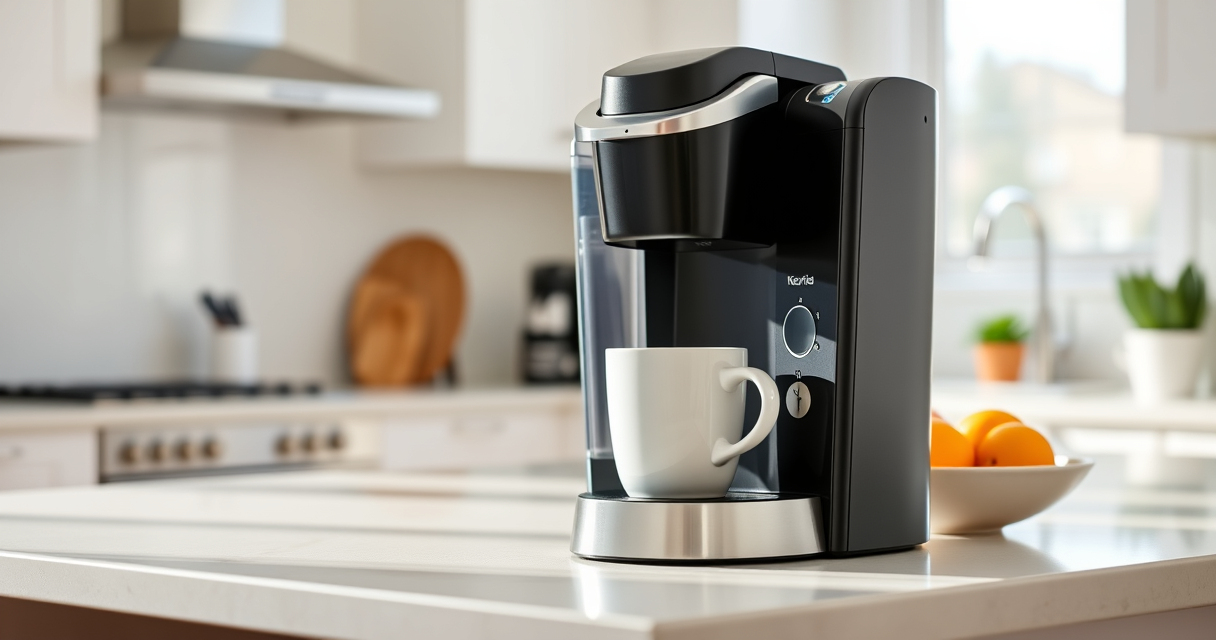

If you’re a Keurig K-Mini owner, keeping your coffee maker in top shape is essential for delicious brews every day. From troubleshooting common issues to regular maintenance, this guide offers clear, step-by-step advice to ensure your Keurig stays reliable and efficient. Whether you’re dealing with poor coffee flow, mineral buildup, or machine errors, you’ll find practical solutions designed for safety and ease.

Get home appliances delivered free with Prime
- Fast, free delivery on millions of items
- Prime Video, Amazon Music and more included
- Member-only deals all year
Regular upkeep not only extends your machine’s lifespan but also guarantees optimal flavor and performance. Read on to discover how to troubleshoot common problems and implement a simple maintenance routine tailored specifically for your Keurig K-Mini.
Key Takeaways
| Preventative Care | Regular descaling and cleaning prevent buildup and ensure great-tasting coffee. |
| Troubleshooting Basics | Most issues stem from mineral deposits, clogs, or water reservoir problems. |
| Safe Maintenance | Always unplug before cleaning and use recommended solutions for descaling. |
| Quick Fixes | Simple steps like rinsing and checking water levels can resolve many common issues. |
Understanding Your Keurig K-Mini
The Keurig K-Mini Single Serve K-Cup Pod Coffee Maker is designed for small spaces, with a sleek black finish and features like cord storage, a removable drip tray, and compatibility with travel mugs. It brews between 6 to 12 ounces per cup, using either K-Cup pods or ground coffee via a reusable filter. To maintain optimal performance, understanding its basic components and operation is key.
Most problems occur because of mineral buildup, clogs, or improper water levels. Regular maintenance and troubleshooting can minimize downtime and improve your coffee experience.
Common Troubleshooting Steps
- Check Water Level: Ensure the water reservoir is filled adequately. The K-Mini requires fresh water for each brew, and low water levels can cause brew errors.
- Inspect for Clogs: Remove the water reservoir and nozzle to check for blockages or debris. Clear any visible obstructions.
- Clean the Needle: Use a paperclip or a Keurig cleaning tool to gently clear the needle that pierces the K-Cup, preventing water flow issues.
- Reset the Machine: Unplug your K-Mini for 30 seconds, then plug back in to reset electronic controls.
- Run a Water-Only Brew: Perform a cycle with just water to test flow and identify persistent issues.
If these steps don’t resolve the problem, proceed to descaling and deeper cleaning.
Descaling Your Keurig K-Mini
Mineral deposits from water can clog internal channels, affecting brew quality and machine longevity. Regular descaling is crucial, especially if you notice slow brewing or weak coffee.
Follow these steps:
- Fill the water reservoir with a descaling solution or a mixture of equal parts white vinegar and water.
- Place a large mug on the drip tray.
- Run a brew cycle without a K-Cup. Repeat until the reservoir is empty.
- Rinse the reservoir thoroughly and refill with fresh water.
- Run several water-only cycles to flush out residual vinegar or cleaning solution.
This process should be done every 3-6 months based on usage and water hardness.
Cleaning and Maintenance Tips
Keep your Keurig K-Mini performing well with regular cleaning:
- Wash the drip tray and water reservoir weekly with warm, soapy water.
- Clean the exterior with a damp cloth, avoiding the control panel.
- Use a Keurig rinse pod or a small amount of water to flush the system after descaling.
- Check and clean the needle area periodically to prevent clogging.
- Replace water filter cartridges as recommended if your model uses them.
Proper storage and handling also prolong the life of your brewer.
Tips and Warnings
Always unplug your Keurig before cleaning or descaling to avoid electrical hazards. Use only recommended descaling solutions or vinegar—avoid harsh chemicals. Regularly inspect the water reservoir and needle for debris or buildup. If your machine still underperforms after troubleshooting and descaling, contact Keurig customer service.
Note: Do not immerse the machine in water or use abrasive cleaners, which can damage internal components.
The Products in This Guide

Keurig K-Mini Single Serve K-Cup Pod Coffee Maker
- ✔ Width: Less than 5 inches
- ✔ Brew Range: 6-12oz
- ✔ Auto Off: Yes

My K-Cup® Reusable Coffee Filter
- ✔ Capacity: Single cup
- ✔ Material: Plastic
- ✔ Compatibility: Keurig K-Mini
Keurig K-Mini Single Serve K-Cup Pod Coffee Maker
The Keurig K-Mini is a perfect choice for those with limited space, offering quick brewing and simple operation. Its compact size doesn’t compromise on performance, making it a reliable daily coffee maker.
Pros:
- Fits in small spaces
- Brews quickly
- Removable drip tray
- Compatible with reusable filters
Cons:
- Limited to 12oz brew size
- No temperature control
- Requires frequent descaling
Best for: Small apartments, dorms, travel
Not ideal for: Users needing larger capacity or advanced features
Bottom line: A compact, efficient coffee maker ideal for small spaces and quick brews.
My K-Cup® Reusable Coffee Filter
The My K-Cup Reusable Coffee Filter allows you to brew your favorite ground coffee, providing flexibility and cost savings. Its design fits perfectly with the Keurig K-Mini, making it a practical addition.
Pros:
- Brew with ground coffee
- Reusable and eco-friendly
- Compatible with Keurig K-Mini
- Easy to clean
Cons:
- Requires measuring coffee
- Slightly more cleaning effort
- Limited to ground coffee brewing
Best for: Coffee enthusiasts wanting control over flavor
Not ideal for: Users preferring quick K-Cup pods only
Bottom line: A versatile reusable filter that enhances your Keurig brewing experience.
Frequently Asked Questions
Why is my Keurig not brewing properly?
Common causes include low water levels, clogs, or mineral buildup. Check the water reservoir, clean the needle, and descale if needed.
How often should I descale my Keurig K-Mini?
Descaling every 3 to 6 months is recommended, depending on water hardness and usage frequency.
Can I use ground coffee in my Keurig?
Yes, with the My K-Cup reusable filter, you can brew your own ground coffee instead of using K-Cup pods.
What safety precautions should I take during cleaning?
Always unplug your machine before cleaning or descaling. Avoid immersing the machine in water or using abrasive cleaners.
My Keurig makes noise but doesn’t brew, what should I do?
Check for clogs, ensure the water reservoir is filled, and clean the needle and internal channels. Descale if mineral deposits are suspected.
Keep Your Keurig K-Mini Brewing Perfectly
Regular maintenance and troubleshooting can keep your Keurig K-Mini operating smoothly, ensuring every cup is fresh and flavorful. By following the steps outlined in this guide—such as descaling, cleaning, and inspecting for clogs—you’ll extend your machine’s lifespan and enjoy hassle-free brewing for years to come.
Remember, a little routine care goes a long way. With proper upkeep, your Keurig K-Mini will continue to be a dependable part of your daily routine, providing quick and delicious coffee whenever you need it.
Affiliate disclosure: As an Amazon Associate we earn from qualifying purchases. Prices and availability are accurate as of the time of publishing.
NFL season / tailgating Picks
team gear
As an affiliate, we earn on qualifying purchases.