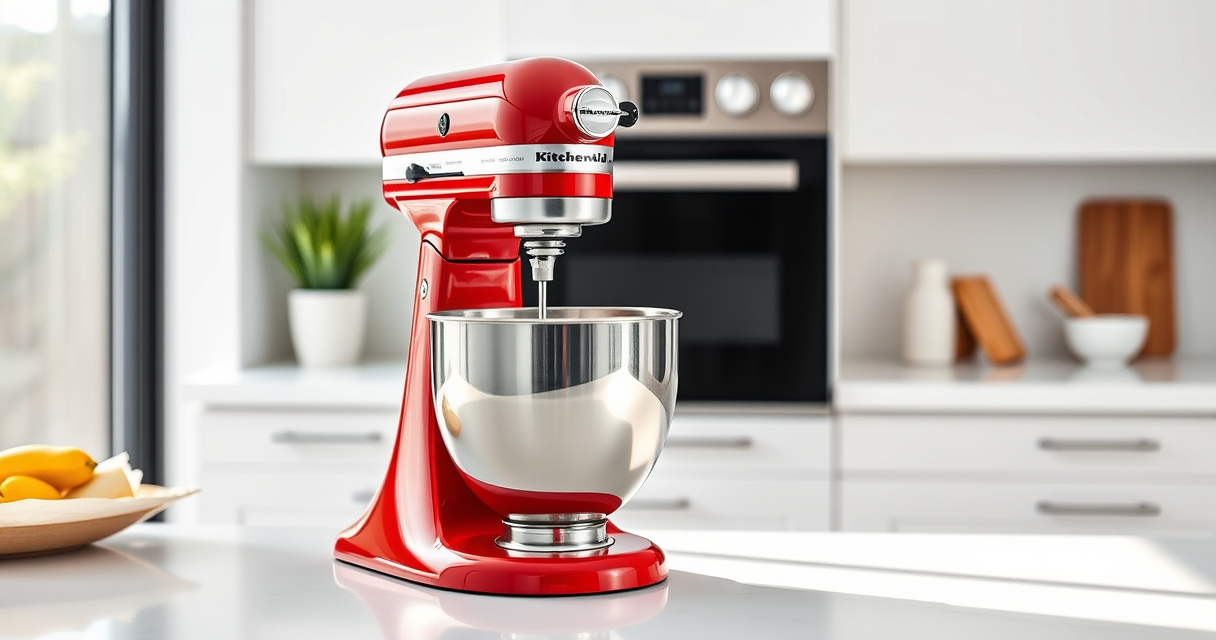

If your KitchenAid Artisan Series 5 Quart Tilt Head Stand Mixer isn’t tilting back as it should, you’re likely facing a common issue that can often be resolved with some simple troubleshooting. This guide will walk you through the causes, safe fixes, and maintenance tips to get your mixer functioning smoothly again.

Get home appliances delivered free with Prime
- Fast, free delivery on millions of items
- Prime Video, Amazon Music and more included
- Member-only deals all year
Understanding the basic mechanics and safety precautions is essential before attempting any repairs. Always disconnect your mixer from the power source before inspecting or working on it to avoid injury or further damage.
Key Takeaways
| Common Causes | Blocked tilt mechanism or worn-out parts |
| Safety First | Always unplug before troubleshooting |
| Step-by-Step Fixes | Simple inspections and adjustments can resolve most issues |
| When to Seek Help | Persistent problems may require professional repair |
| Preventative Tips | Regular maintenance extends mixer lifespan |
Identify the Cause: Why Won’t Your Mixer Tilt Back?
Before attempting a fix, observe your mixer to understand why it isn’t tilting back. Common causes include obstructions in the tilt mechanism, debris buildup, or worn-out parts such as the tilt release lever or hinge pin. Over time, residue from ingredients or dust can jam the tilt system, preventing smooth movement.
Check if the tilt head feels stuck or resists movement. If it moves with effort but doesn’t tilt freely, a blockage or lack of lubrication may be the culprit. If the tilt mechanism feels loose or wobbly, worn or broken parts could be the issue.
Step 1: Unplug and Prepare Your Mixer
- Ensure the mixer is unplugged from the electrical outlet.
- Remove any attachments or bowls to access the tilt mechanism easily.
- Move the tilt head to its highest position if possible, to examine the hinge area.
Step 2: Inspect the Tilt Hinge and Release Lever
- Visually inspect the hinge pin and surrounding areas for debris, dust, or hardened ingredients.
- Check the tilt release lever for signs of damage or misalignment.
- If you notice dirt or residue, clean the area gently with a soft cloth and a mild cleaner or isopropyl alcohol.
Step 3: Lubricate the Moving Parts
Apply a small amount of food-grade silicone lubricant or a light machine oil to the hinge pin and the tilt mechanism. Avoid over-lubricating, as excess oil can attract dirt or interfere with the mechanism. Move the tilt head back and forth to distribute the lubricant evenly.
Step 4: Check for Worn or Broken Components
If lubrication doesn’t resolve the issue, examine the hinge pin, tilt release lever, and surrounding parts for signs of wear or damage. Replace any broken or heavily worn components before attempting to tilt again.
Note: Replacement parts are available through KitchenAid or authorized service providers.
Step 5: Reassemble and Test
- Once all parts are cleaned, lubricated, and repaired, reassemble the mixer.
- Plug in your mixer and gently tilt the head back and forth to ensure it moves smoothly.
- Verify that the head locks securely in place when tilted down.
Additional Tips and Safety Warnings
- Always unplug your mixer before inspecting or repairing to prevent electrical shock or injury.
- Use only food-safe lubricants to avoid contamination.
- Do not force the tilt head if it resists movement; excessive force can cause further damage.
- If troubleshooting doesn’t resolve the issue, consider contacting a professional repair service.
The Products in This Guide

KitchenAid Artisan Series 5 Quart Tilt Head Stand Mixer
- ✔ Weight: 26 pounds
- ✔ Dimensions: 14 x 8 x 14 inches
- ✔ Warranty: 1 year

KitchenAid Stand Mixer Attachment
- ✔ Weight: 3.5 pounds
- ✔ Dimensions: 7 x 4 x 6 inches
- ✔ Warranty: 1 year
KitchenAid Artisan Series 5 Quart Tilt Head Stand Mixer
The KitchenAid Artisan Series 5 Quart Tilt Head Stand Mixer is built to last with metal construction and multiple touchpoints for thorough mixing. Its tilt-head design allows easy access to ingredients, but like all mechanical parts, it can experience issues over time. Regular maintenance, such as cleaning and lubrication, helps keep it functioning smoothly.
Pros:
- Sturdy metal construction
- Easy tilt-head access
- Multiple speed settings
- Large 5-quart bowl capacity
Cons:
- Can get stuck if not maintained
- Worn hinges may need replacement
- Requires periodic cleaning
Best for: Home bakers and cooking enthusiasts who need a reliable mixer
Not ideal for: Heavy use in commercial kitchens or for very frequent professional baking
Bottom line: With proper maintenance, your KitchenAid tilt-head mixer offers years of reliable performance.
KitchenAid Stand Mixer Attachment
The KitchenAid Stand Mixer Attachment Food Grinder allows you to process meats, vegetables, and more directly through your mixer, making it a valuable addition for home chefs who want fresh, customizable ingredients. It connects seamlessly to the power hub and offers multiple grinding plates and sausage stuffer tubes.
Pros:
- Transforms your mixer into a meat grinder
- Includes multiple grinding plates
- Sturdy metal construction
- Easy to attach and clean
Cons:
- Requires separate purchase of the attachment
- Bulkier for small-scale tasks
- Needs pre-chilling for best results
Best for: Home cooks looking to make fresh ground foods
Not ideal for: For those who rarely grind ingredients or have limited space
Bottom line: Add this attachment to unlock new culinary possibilities with your KitchenAid mixer.
Frequently Asked Questions
Can I fix my KitchenAid mixer myself if it won’t tilt back?
Yes, with proper safety precautions. Unplug the mixer, inspect the hinge, release lever, and hinge pin for debris or damage. Lubrication and cleaning often resolve the issue, but replacing worn parts may be necessary.
What kind of lubricant should I use?
Use a food-grade silicone lubricant or a light machine oil suitable for kitchen appliances. Avoid harsh chemicals or petroleum-based oils.
How often should I lubricate the hinge parts?
Lubricate the hinge and tilt mechanism every 6-12 months, or if you notice stiffness or difficulty tilting the head.
My mixer still won’t tilt after cleaning and lubrication. What next?
If cleaning and lubrication don’t help, inspect for broken or worn components. Replacing damaged parts or consulting a professional repair service is recommended.
Is it safe to force the tilt head down or back up?
No, forcing the tilt head can cause further damage or breakage. Always troubleshoot the issue and make adjustments gently.
Keep Your KitchenAid in Top Shape
Regular maintenance and careful inspection are key to ensuring your KitchenAid Artisan Series 5 Quart Tilt Head Stand Mixer continues to operate smoothly. By understanding common issues and following proper troubleshooting steps, you can avoid costly repairs and extend the lifespan of your beloved mixer. When in doubt, don’t hesitate to seek professional help or replace worn parts to keep your kitchen running efficiently.
Affiliate disclosure: As an Amazon Associate we earn from qualifying purchases. Prices and availability are accurate as of the time of publishing.
Fall Picks
fall essentials
As an affiliate, we earn on qualifying purchases.