If your robot mop leaves streaks or wet floors, check for sensor issues and clean the sensors with a soft cloth. Make certain your mop pads are fresh and properly attached, and avoid overfilling the water reservoir to prevent excess water. Regular maintenance like cleaning brushes, sensors, and replacing pads helps improve performance. Addressing these common problems can make a big difference; explore further tips to keep your robot working smoothly and efficiently.
Key Takeaways
- Clean sensors and pads regularly to prevent guidance errors and streaks.
- Adjust water level settings and replace or wring out damp pads to avoid wet floors.
- Check for sensor obstructions and ensure water reservoirs are not overfilled or clogged.
- Perform routine maintenance including cleaning brushes, wheels, and filters for optimal performance.
- Schedule regular upkeep of sensors and pads to maintain even cleaning and prevent streaks or missed spots.
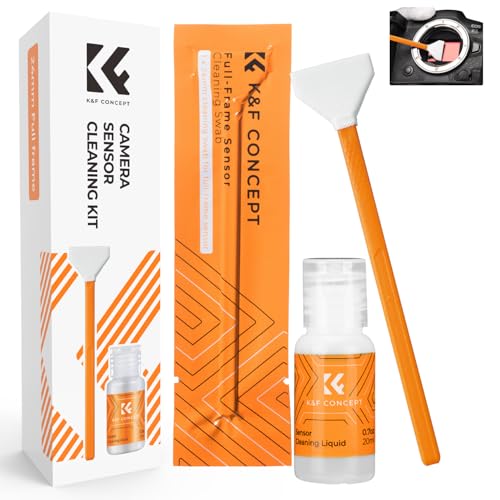
K&F CONCEPT 24mm Full Frame Sensor Cleaning Kits, with 20ml Sensor Cleaner
【6 Pieces of 24mm Sensor Cleaning Swabs】 Tailored according to the size of the Full frame frame sensor;Smudge-and…
As an affiliate, we earn on qualifying purchases.
As an affiliate, we earn on qualifying purchases.
Common Causes of Streaks and How to Fix Them
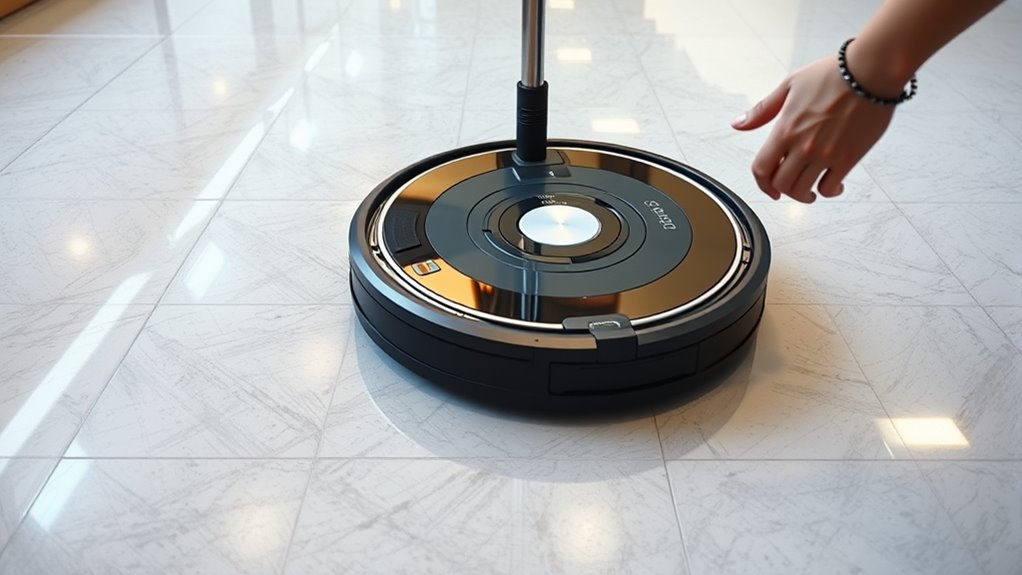
Streaks on your floors often indicate issues with the robot mop’s cleaning process. One common cause is sensor issues, which can prevent the mop from guiding correctly or detecting dirty areas. If sensors are dirty or obstructed, the robot may miss spots or leave streaks. Regularly clean the sensors with a soft cloth to guarantee accurate readings. Another frequent problem is dirty pads. Over time, pads collect dust, hair, and grime, reducing their effectiveness. Make sure to wash or replace the pads regularly to maintain peak cleaning performance. Proper sensor maintenance and fresh pads help your robot mop clean evenly, preventing streaks and leaving your floors spotless. Addressing these issues is quick and simple, restoring your robot’s efficiency.
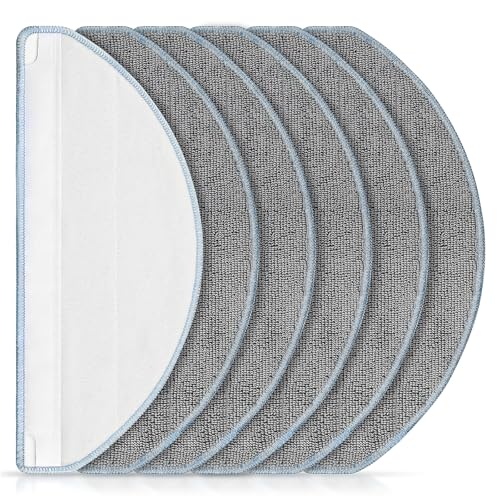
6 Pack Mop Replacement for iRobot Roomba 105 Combo & Essential Robot Vacuum
[Compatible Models] Washable mopping pads only compatible with iRobot Roomba Combo Essential Y0140 / Y0110 / Q011 /…
As an affiliate, we earn on qualifying purchases.
As an affiliate, we earn on qualifying purchases.
Dealing With Excess Water and Wet Floors

Have you noticed your floors remaining wet after your robot mop finishes cleaning? This usually means excess water is being released during mopping. Check your water reservoir tips to ensure it’s not overfilled or clogged, which can cause too much water to flow out. Adjust the water level setting if your mop allows, opting for less water to prevent oversaturation. Additionally, inspect your mop pad for proper maintenance; a saturated or overly damp pad can contribute to wet floors. Regularly replace or wring out the pad to keep it dry and absorbent. Proper water reservoir management combined with attentive mop pad maintenance helps reduce excess water, ensuring your floors dry faster and your cleaning remains effective without the mess.

Goodsby Replacement 2-in-1 Dust Bin & Water Tank Reservoir with Mop Plate Bracket, Mop Pad & Filter Compatible with Shark RV2400WS RV2402WS UR2450WS RV2610WA AV2610WA AV2620WA AV2630WA Robot Vacuum
COMPATIBLE WITH UPDATED SHARK 24XX & 26XX SERIES: Compatible with RV2400WS, RV24003DUS, RV2402WS, RV24023DUS, UR2450WS, UR24503DUS, RV2610WA, RV26101EUS,…
As an affiliate, we earn on qualifying purchases.
As an affiliate, we earn on qualifying purchases.
Maintaining Your Robot Mop for Optimal Performance

Regular maintenance is essential to keep your robot mop performing at its best. Follow a consistent cleaning schedule to prevent buildup and ensure ideal operation. Regularly empty the water tank and clean the brushes to avoid streaks or missed spots. Pay attention to the battery lifespan by charging it properly and avoiding overcharging, which can degrade the battery over time. Check and replace filters or pads as needed to maintain cleaning effectiveness. Keep sensors and wheels free of debris for smooth navigation. Proper maintenance not only prolongs your mop’s lifespan but also ensures it cleans efficiently. Staying proactive with these steps helps prevent common issues like streaks or wet floors, keeping your floors spotless and your device working reliably.
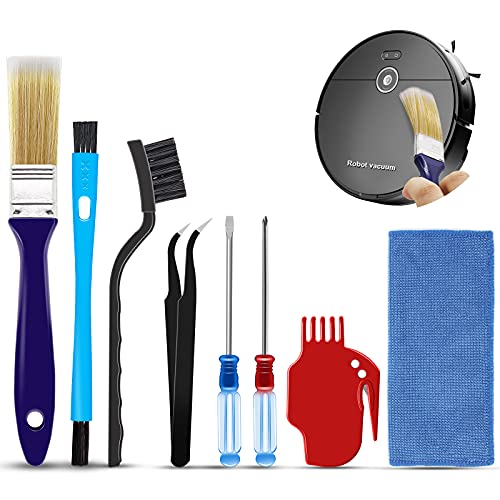
Midukit Vacuum Attachments Accessories for Robot Vacuum Cleaner,Cleaning Brush roll Cleaning Tool Replacement Parts, Part kit Tool for Vacuums Cleaner Replacement Include Vacuum Cleaning Cloth
Midukit vacuum cleaning kit for robot, dyson. Vacuum cleaning tool includes Cleaning Brush, tweezers, screwdriver (Phillips, Slotted), double-end…
As an affiliate, we earn on qualifying purchases.
As an affiliate, we earn on qualifying purchases.
Frequently Asked Questions
How Often Should I Replace the Robot Mop’s Cleaning Pads?
You should replace your robot mop’s cleaning pads every 2-3 months, depending on usage and pad maintenance. Regularly check for wear and tear, and replace pads sooner if they become frayed or less effective. Following a consistent replacement schedule helps keep your robot working efficiently and prevents streaks or residue. Proper pad maintenance extends the life of your mop and guarantees peak cleaning performance for your floors.
Can Robot Mops Handle Uneven or Textured Flooring?
Robot mops can handle uneven or textured flooring, but your choice depends on the flooring compatibility and mop adaptability. Some models feature adjustable settings or flexible mop heads that conform to various surfaces, ensuring effective cleaning. Check your robot’s specifications to confirm it suits your flooring type. If it’s designed for diverse surfaces, it’ll navigate textured floors more efficiently, providing thorough cleaning without streaks or wet spots.
Are There Specific Cleaning Solutions Recommended for Robot Mops?
You should always check your robot mop’s cleaning solution compatibility first. Many models work best with their recommended solutions, ensuring peak performance and avoiding damage. For eco-friendly cleaning, look for solutions labeled as biodegradable or non-toxic. Using the right, eco-friendly cleaning solutions helps keep your floors spotless while being safe for the environment and your family. Always follow the manufacturer’s instructions for the best results.
How Do I Reset My Robot Mop if It Malfunctions?
Think of your robot mop as a loyal pet needing a gentle reset. To reset it, follow the troubleshooting steps in your user manual, typically involving turning it off, removing the power source, and pressing a reset button or holding certain buttons for a few seconds. This reset procedure clears glitches and restores functionality. If issues persist, contact customer support for further troubleshooting steps to get your mop back in action.
What Should I Do if My Robot Mop Gets Stuck Frequently?
If your robot mop gets stuck frequently, check its navigation and obstacle avoidance features. Clear any debris or obstacles blocking its path and verify the sensors are clean. Adjust the cleaning schedule to avoid cluttered times and consider creating a barrier around tricky areas. Resetting the robot can also help improve its navigation. Regular maintenance and a tidy environment will help prevent it from getting stuck and keep your floors spotless.
Conclusion
By mastering maintenance and mindful troubleshooting, you’ll minimize messes and maximize mop mastery. Regularly rinse, refuel, and review your robot’s routines to reduce streaks, soakings, and stalls. Keep your cleaning consistent, your floors crystal clear, and your confidence high. With a little care and clever troubleshooting, you’ll turn stubborn stains into spotless success, creating a clean, cheerful, and carefree home environment. Master your mop, and marvel at the magnificent, mess-free floors you’ll maintain.