To get a streak-free shine with your window cleaning robot, start by preparing your windows and surroundings—clean the frame, trim plants, and remove obstacles. Use eco-friendly solutions paired with microfiber pads for better results. Place the robot on a clean, dry surface and ensure its sensors are properly calibrated. Regularly maintain your robot by cleaning brushes and sensors, and keep an eye on its performance during cleaning. Follow these tips to achieve sparkling windows effortlessly—there’s more to perfecting your clean when you continue.
Key Takeaways
- Use microfiber pads and eco-friendly cleaning solutions for streak-free, gentle cleaning.
- Calibrate sensors regularly to ensure accurate edge detection and obstacle avoidance.
- Clear surrounding area of debris, plants, and objects to allow smooth robot movement.
- Maintain the robot by cleaning brushes, sensors, and filters routinely.
- Monitor the cleaning process and adjust the robot’s position or calibration as needed for optimal results.
Prepare Your Windows and Surroundings Properly

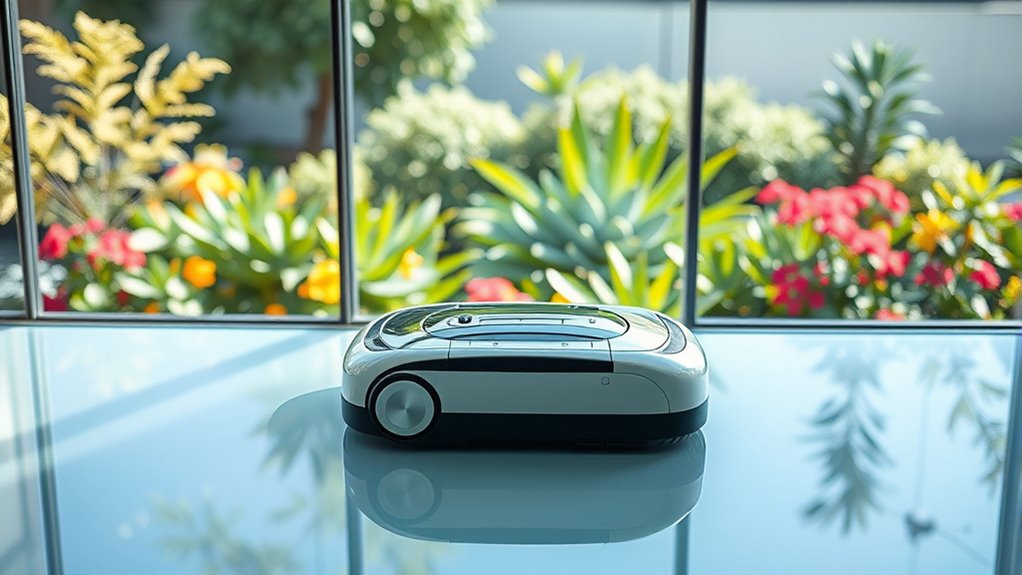
Before operating your window cleaning robot, it’s crucial to prepare your windows and surroundings to guarantee peak performance. First, inspect the window frame for any damage or loose parts that could interfere with the robot’s movement. Clean off dust, dirt, or cobwebs around the frame to ensure smooth operation. Trim surrounding plants that might obstruct the robot’s path or cause it to get stuck. Remove any loose objects like flowerpots or tools near the window area. Clear away heavy debris or buildup on the windows themselves for better contact. Taking these steps prevents the robot from skipping spots or stopping unexpectedly, allowing it to work efficiently and leave your windows streak-free. Proper preparation is key to achieving the best cleaning results.
Use the Correct Cleaning Solutions and Pads

Using the right cleaning solutions and pads is essential to achieve streak-free, spotless windows. Opt for eco friendly solutions that are gentle yet effective, reducing chemical residue and environmental impact. Microfiber pads are your best choice—they trap dirt and grime without scratching glass, ensuring a thorough clean. Here’s a quick comparison:
| Solution Type | Benefits | Suitable Pads |
|---|---|---|
| Eco Friendly Solutions | Safe for the environment, non-toxic | Microfiber pads |
| Traditional Cleaners | Strong stain removal | Cotton or sponge |
| Homemade Solutions | Cost-effective, natural | Microfiber or soft cloth |
Choose eco friendly solutions paired with microfiber pads for optimal cleaning power and streak-free results every time.
Optimize Robot Placement and Movement
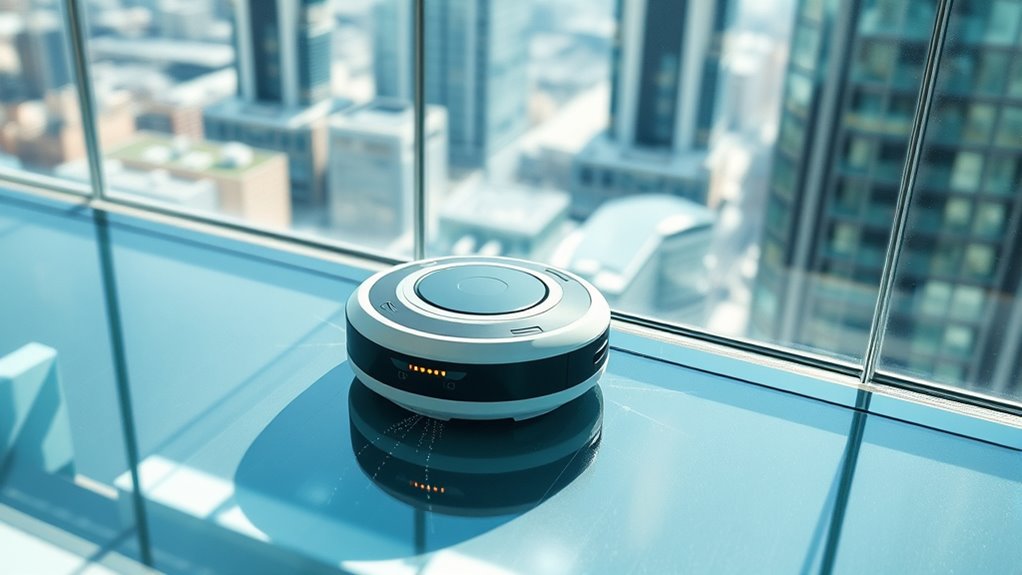
Proper placement and movement of your window cleaning robot guarantee thorough coverage and streak-free results. Confirm your robot’s sensor calibration is accurate so it can detect window edges, frames, and obstacles effectively. This prevents missed spots and unnecessary collisions that could smear your glass. Position your robot on a clean, dry surface with unobstructed access to the entire window. During operation, rely on the obstacle detection feature to navigate smoothly, avoiding furniture, window hardware, or other barriers. Adjust the robot’s starting point if needed to maximize coverage, especially on larger or irregularly shaped windows. Proper placement combined with calibrated sensors and responsive obstacle detection results in efficient cleaning, reducing streaks and ensuring a spotless, streak-free shine.
Regularly Maintain and Clean Your Robot

Regular maintenance is essential to keep your window cleaning robot performing at its best. A well-maintained robot ensures peak robot battery life, so it runs longer between charges and cleans more efficiently. Follow a consistent cleaning schedule to prevent dust and debris buildup on brushes and sensors, which can hinder performance and streak-free results. Regularly inspect and clean the brushes, microfiber pads, and suction areas to remove dirt and grime. Check the sensors for dust or smudges that could affect navigation. Additionally, empty the water tank and clean filters as needed. Proper upkeep not only prolongs your robot’s lifespan but also guarantees streak-free, spotless windows every time you use it. Staying proactive with maintenance makes your cleaning routine more effective and hassle-free.
Monitor and Adjust During the Cleaning Process
Once your robot starts cleaning, keep a close eye on its progress. During this time, you should regularly monitor its performance to guarantee ideal results. First, check the sensor calibration to confirm the robot accurately detects the window edges and dirt. Second, watch for obstacle detection issues, making sure it avoids frames, handles, or debris. Third, observe if the robot adjusts its path when encountering unexpected objects. Fourth, verify that the cleaning pattern remains consistent and thorough. If you notice any problems, pause the robot and recalibrate the sensors or manually remove obstacles. Staying attentive allows you to intervene promptly, ensuring your robot maintains a streak-free shine without streaks or missed spots.
Frequently Asked Questions
Can Window Cleaning Robots Handle Extremely Dirty or Greasy Windows?
Window cleaning robots can handle extremely dirty or greasy windows if you prepare them properly. You should use a suitable cleaning solution to loosen stubborn grime and grease before running the robot. Also, make certain regular robot maintenance, like cleaning the brushes and sensors, to keep it working efficiently. Keep in mind, for very tough stains, manual cleaning might still be necessary, but a well-maintained robot can tackle most dirt effectively.
What Safety Precautions Should I Take During Robot Operation?
You should always wear safety gear like gloves and eye protection when operating your window cleaning robot. Before starting, review emergency procedures, such as how to quickly stop the robot or disconnect power if needed. Keep the area clear of obstacles, and guarantee your windows are properly secured. Regularly inspect the device for loose parts or damage, and follow the manufacturer’s instructions to prevent accidents or mishaps during operation.
How Do I Troubleshoot if the Robot Gets Stuck or Stops Mid-Cleaning?
Think of your robot as a brave explorer steering unfamiliar terrain. If it gets stuck or halts mid-cleaning, first check its navigation system and obstacle detection sensors. Clear any debris or obstacles blocking its path, and verify the sensors are clean and unobstructed. Restart the robot, and watch it resume its journey smoothly, confident in its ability to adapt and complete the task with precision.
Are There Specific Window Types or Sizes Incompatible With Robot Cleaners?
You should verify your window cleaning robot’s window frame compatibility and glass thickness limitations before use. Some robots struggle with thick or textured glass, or windows with intricate frames that interfere with the robot’s movement. Larger or irregularly shaped windows may also be incompatible. Always review the manufacturer’s guidelines to ensure your window type fits within the robot’s specifications, preventing damage and ensuring effective cleaning.
How Often Should I Schedule Full Cleanings for Optimal Results?
You should schedule a full cleaning with your window cleaning robot at least once every two weeks for ideal results. Maintaining a consistent maintenance schedule helps prevent dirt buildup and guarantees streak-free, shiny windows. If your windows are in a high-traffic or dusty area, increase the cleaning frequency to once a week. Regular use keeps your windows clear and enhances the robot’s efficiency, giving you a streak-free shine every time.
Conclusion
To get that streak-free shine, following these tips guarantees your window cleaning robot performs at its best. Regular maintenance and proper setup make all the difference, saving you time and effort. Did you know that using the right cleaning solutions can increase your robot’s efficiency by up to 30%? Keep an eye on its progress and make adjustments as needed. With these simple steps, you’ll enjoy spotless, gleaming windows every time—without the streaks!