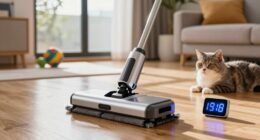
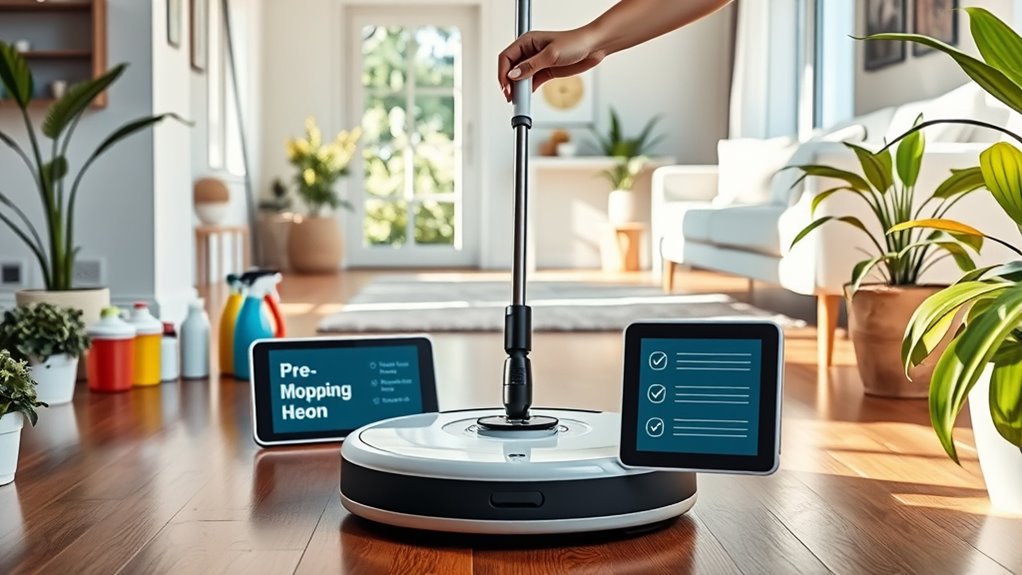
To prepare your home for a robot mop, start by decluttering and removing obstacles like cords, shoes, and small objects to guarantee smooth navigation. Check the battery level and recharge if needed, then inspect and empty the dustbin or water tank. Adjust settings for your floor type, secure cords, and map or update designated zones. Conduct a quick test run to confirm everything works properly. If you want to discover more tips, keep exploring for a thorough guide.
Key Takeaways
- Clear pathways by removing cords, small objects, and clutter to ensure smooth navigation and thorough cleaning.
- Charge and maintain the robot’s battery, dustbin, and water tank for optimal performance.
- Map the environment and set virtual boundaries to prevent the robot from entering restricted areas.
- Adjust cleaning settings based on floor type, such as water flow and suction power.
- Conduct a test run to verify navigation, obstacle detection, and coverage before regular cleaning.
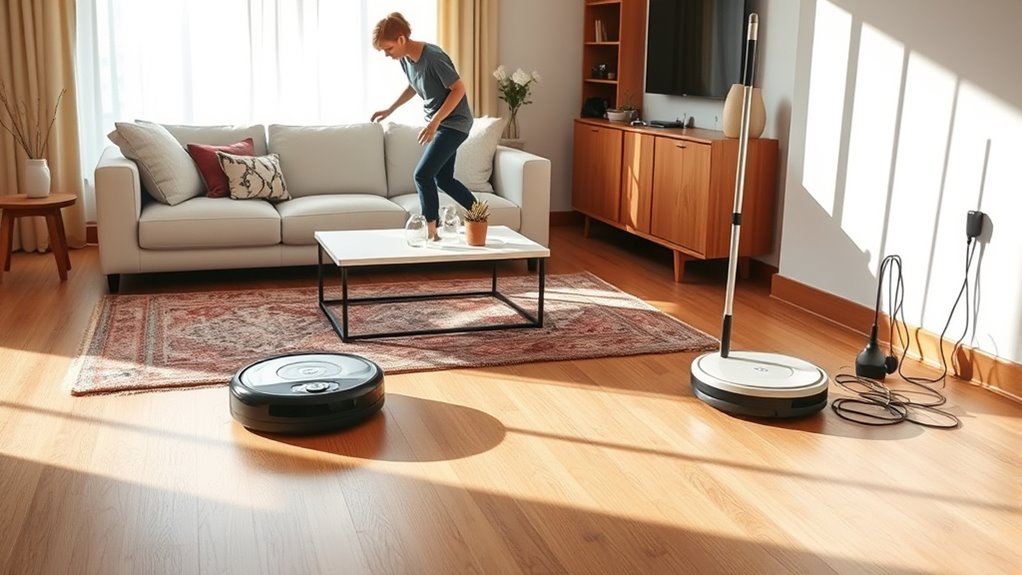
Clear the Floor of Obstacles and Clutter
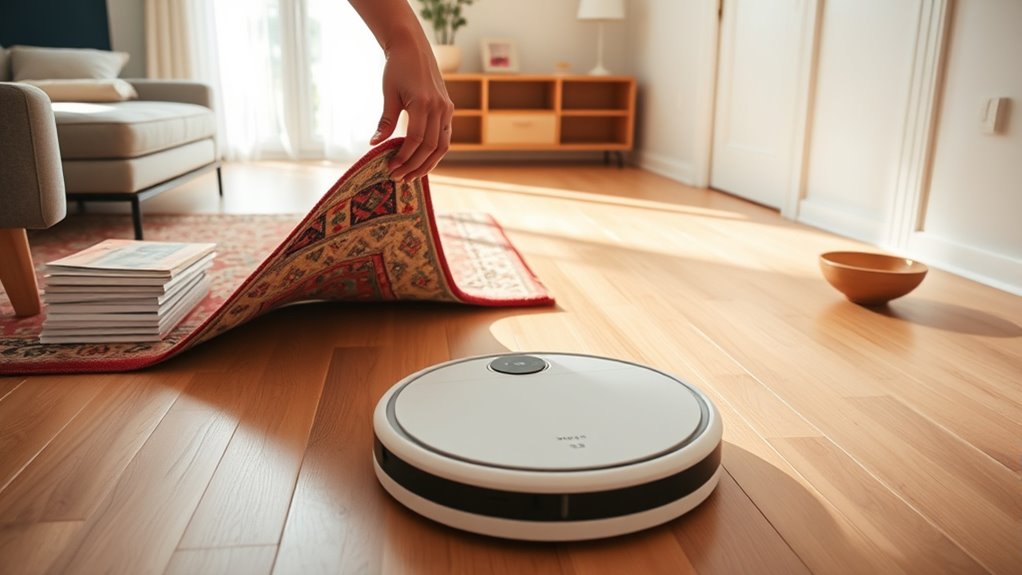
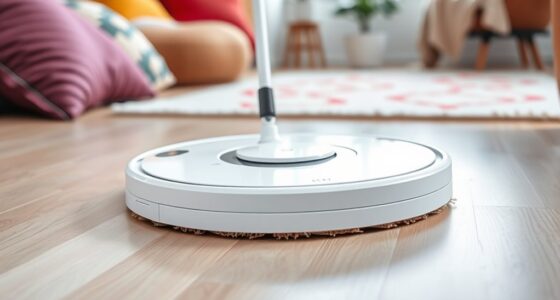
Before you start your robot mop, it’s essential to clear the floor of obstacles and clutter. Obstacle management ensures your device moves smoothly without getting stuck or causing damage. Remove any cords, shoes, or small objects that could obstruct the mop’s path. Clutter reduction makes cleaning more effective, allowing the robot to cover more ground efficiently. Pay attention to pet toys, clothing, and loose papers, which can hinder performance. Clearing the area minimizes interruptions and prevents the robot from missing spots or getting jammed. Take a few minutes to tidy up, and your robot mop will operate better, saving you time and effort in the long run. Proper obstacle management and clutter reduction set the foundation for a successful cleaning session.
Check and Charge the Robot Mop’s Battery
Before starting your robot mop, make sure the battery is fully charged and ready to go. Check the current battery level and note how long it takes to recharge so you can plan cleaning sessions accordingly. Remember to follow maintenance tips to keep the battery in good shape for peak performance.
Battery Level Check
Ensuring your robot mop has enough battery life is essential for a successful cleaning session. Start by checking the current battery level through the device’s app or display. Proper battery maintenance involves regularly monitoring charge status to prevent unexpected shutdowns mid-cleaning. If the battery is low, it’s best to recharge before starting your session, guaranteeing uninterrupted operation. Good power management means avoiding neglecting the battery, which can reduce its lifespan over time. Confirm that the battery is holding a sufficient charge and that no alerts indicate a need for service or replacement. By maintaining an ideal battery level, you ensure your robot mop is ready to perform efficiently and clean your floors thoroughly without interruptions.
Charging Time Requirements
To keep your robot mop ready for cleaning, it’s important to understand how long it takes to fully charge the battery. Charging times vary depending on the model and battery capacity, affecting overall battery performance. Typically, a full charge takes between 2 to 4 hours. Proper charging station placement ensures easy access and efficient charging. Avoid placing the station in areas with excessive dust or humidity, which can impact battery health. Here’s a quick overview:
| Charging Duration | Placement Tip | Battery Impact |
|---|---|---|
| 2-3 hours | Near open, accessible spot | Quick readiness |
| 3-4 hours | Away from direct sunlight | Maintains battery health |
| Less than 2 hours | Fast-charging models | Shorter charge cycles |
| More than 4 hours | Poor station placement | Reduced battery performance |
| Ideal | Flat, stable surface | Superior battery performance |
Battery Maintenance Tips
Regularly checking and charging your robot mop’s battery helps maintain ideal performance. To maximize battery longevity, avoid letting the battery fully drain before recharging, as deep discharges can shorten its lifespan. Keep an eye on the battery indicator and recharge when it drops below 20%. Always use the manufacturer-recommended charger to ensure charging safety, preventing overheating or damage. Charge the battery in a cool, dry place, and don’t leave it plugged in for extended periods after reaching full capacity. Consistent maintenance of the battery not only enhances performance but also prolongs its life. By following these simple tips, you ensure your robot mop remains reliable and efficient for your cleaning needs.
Ensure the Cleaning Path Is Accessible and Unobstructed
Before running your robot mop, take a moment to clear the cleaning path. Check for obstacle placement that could hinder its movement, like shoes, cords, or small objects. Move furniture or rearrange it if necessary to guarantee there’s enough space for smooth navigation. Keep in mind that clutter or items left in the way can cause the robot to get stuck or miss spots. Clear the floor of anything that might obstruct the sensors or block the mop’s path. By organizing furniture and removing obstacles, you help your robot operate efficiently. A clutter-free, accessible route ensures thorough cleaning and minimizes interruptions. Taking these simple steps now saves you time and effort later, giving your robot the best chance to do its job effectively.
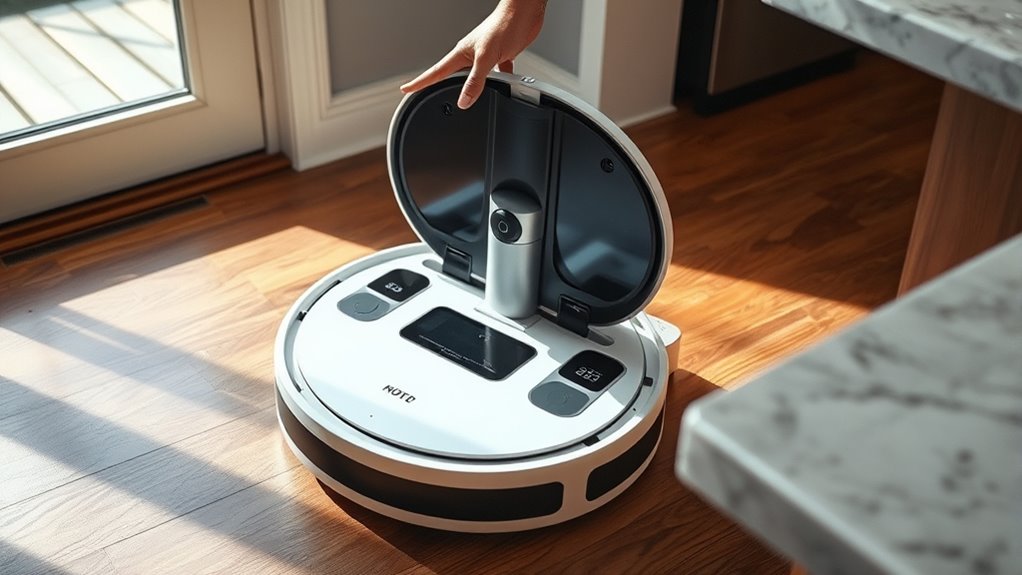
Inspect and Replace or Empty the Dustbin or Water Tank
Make certain to empty the dustbin regularly to keep your robot mop working efficiently. Refill or replace the water tank as needed to guarantee thorough cleaning. Also, check for any blockages that could hinder the device’s performance.
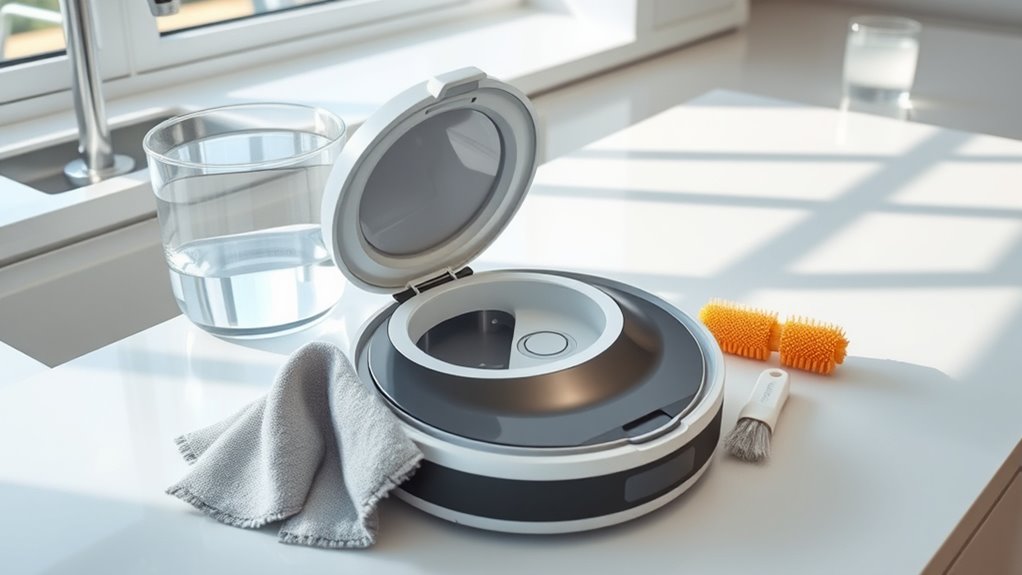
Clear Dustbin Regularly
Have you checked the dustbin or water tank lately? Regular dustbin maintenance is essential for your robot mop’s performance. If the dustbin is full or clogged, your device won’t clean effectively. Make a habit of inspecting it after each use to prevent buildup. When necessary, empty the dustbin to keep it functioning *at its best*. If the dustbin shows signs of wear or damage, consider dustbin replacement to avoid future issues. Keep in mind:
- Remove and clean the dustbin thoroughly to prevent odors and blockages
- Check for cracks or broken seals during dustbin maintenance
- Replace the dustbin if cleaning no longer restores proper function
Doing this ensures your robot mop operates smoothly and maintains cleaning efficiency.
Refill or Replace Water
Regularly inspecting and maintaining the water tank guarantees your robot mop works effectively. Check the water quality before each use—dirty or contaminated water can affect cleaning performance. If the water looks cloudy or has debris, empty and thoroughly clean the tank before refilling. Keep an eye on refill frequency; don’t let the tank run dry during cleaning, as it can cause streaks or incomplete mopping. Using fresh, clean water ensures ideal results and prolongs your mop’s lifespan. If you notice mineral buildup or hard water deposits, consider using distilled water to prevent clogs. Empty the tank after each use to prevent mold or bacteria growth. Proper water management ensures your robot mop operates smoothly and delivers the best clean every time.
Check for Blockages
Since blockages can hinder your robot mop’s performance, it’s important to regularly check the dustbin and water tank for obstructions. Clearing these prevents clogs that could affect robot mop safety and reduce cleaning efficiency. During your maintenance checklist, inspect the dustbin for debris or pet hair that might block airflow. Empty and clean the water tank to avoid mold or mineral buildup, which can impair water flow. Also, examine the suction ports and spray nozzles for any obstructions that could prevent proper operation.
- Remove and rinse the dustbin thoroughly
- Check water tank for mineral deposits or debris
- Inspect spray nozzles and suction ports for clogs
Performing these steps ensures your robot mop runs smoothly and safely, extending its lifespan.
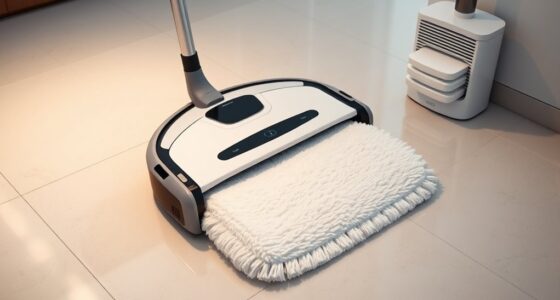
Adjust the Settings for Your Floor Type and Cleaning Needs

To guarantee your robot mop cleans effectively, you need to adjust its settings based on your floor type and specific cleaning needs. Different flooring materials require tailored cleaning solutions and settings for ideal results. For example, hardwood floors need gentle mopping with minimal moisture, while tiles can handle more vigorous cleaning. Adjust the mop’s suction power, water flow, and cleaning modes accordingly. Use this guide to customize your settings:
| Floor Type | Recommended Settings |
|---|---|
| Hardwood | Low water, gentle mode |
| Tile/Stone | Higher water, standard mode |
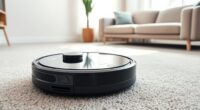
| Carpeted areas | Use dry mopping or no water |
Matching your settings ensures effective cleaning while protecting your floors.
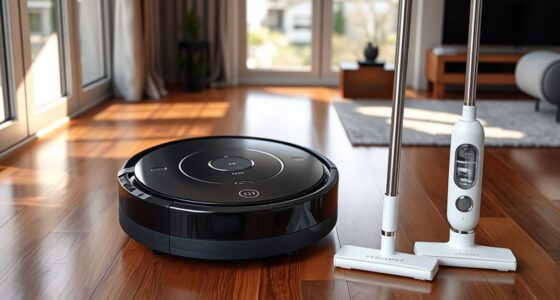
Secure Cords and Small Items to Prevent Entanglement

After adjusting your robot mop’s settings for your floor type, it’s important to make certain the cleaning path remains clear of obstacles. Making sure cord safety and removing small items helps prevent entanglement.
Ensure the cleaning path is clear by securing cords and removing small items to prevent entanglement.
- Tuck away loose cords along baseboards or behind furniture to avoid snagging.
- Remove small items like toys, socks, or jewelry from the floor to prevent them from getting caught.
- Use cord organizers or clips to keep cables secure and out of the robot’s way.
These steps reduce the risk of the robot mop becoming entangled, which could damage both the device and your belongings. By proactively managing cords and small items, you ensure a smooth, efficient cleaning process and protect your home’s safety.
Map Out or Update Your Cleaning Zones and Boundaries

Mapping out or updating your cleaning zones and boundaries guarantees your robot mop concentrates only on the areas you want cleaned. Start by mapping zones to specify high-traffic spots or delicate areas to avoid. Boundary setup involves creating virtual barriers that prevent the mop from entering certain rooms or spaces. Use your robot’s app to set these zones and boundaries accurately, ensuring efficient cleaning and avoiding obstacles. Adjust existing zones if your home layout changes or if you notice the mop missing spots. Properly mapping zones and boundaries helps optimize the cleaning route, saves time, and prevents accidental falls or damage. Regularly review and update your setup to keep the robot mop functioning smoothly and covering the right areas every time.
Perform a Quick Test Run to Confirm Proper Functioning
Performing a quick test run helps guarantee your robot mop is set up correctly and ready to clean effectively. It allows you to verify that the robot’s navigation system moves smoothly and that sensors are properly calibrated. During the test, observe how the mop navigates around obstacles, furniture, and boundaries. Look for any signs of miscommunication or navigation errors that could hinder performance. You should also check for accurate sensor calibration to ensure the robot detects walls and furniture correctly. To enhance the test, consider these steps:
- Watch for smooth navigation without unnecessary hesitation or collisions
- Confirm sensors detect obstacles and boundaries properly
- Verify the mop covers the designated area efficiently
This quick run helps identify issues early, ensuring your robot mop cleans your home thoroughly.
Frequently Asked Questions
How Often Should I Update the Robot Mop’s Firmware?
You should update your robot mop’s firmware whenever a new firmware update becomes available. Regular firmware updates help improve cleaning performance and fix bugs, ensuring your device runs smoothly with your cleaning schedule. Check the manufacturer’s app or website weekly, especially if you notice issues or if your cleaning routine changes. Staying current with firmware updates keeps your robot mop functioning efficiently and extends its lifespan.
Can I Schedule Cleaning Sessions in Advance?
You can set specific schedules for your robot mop’s cleaning sessions. Utilize scheduling tips to streamline your routine, choosing the most convenient times for your home’s needs. Most models offer flexible cleaning schedule options, allowing you to program sessions ahead of time. By planning and presetting your mop’s timetable, you ensure your floors stay spotless without daily manual effort, making maintenance manageable and more efficient.
What Safety Precautions Should I Take During Operation?
During operation, you should childproof your home by removing small objects or cords that kids might grab, and guarantee pets are in a safe area away from the robot. Keep an eye on the robot to prevent it from bumping into fragile items. Regularly check for any trapped hair or debris that could harm pets or hinder cleaning. These precautions help keep everyone safe and your home protected.
How Do I Troubleshoot if the Robot Gets Stuck?
If your robot gets stuck, first check for obstacle detection issues or navigation problems. Clear any objects blocking its path and verify the sensors are clean and unobstructed. Restart the device to reset its navigation system, and review the surroundings for potential hazards like cords or uneven surfaces. Updating the firmware can also improve obstacle detection, helping the robot avoid getting stuck in the future.
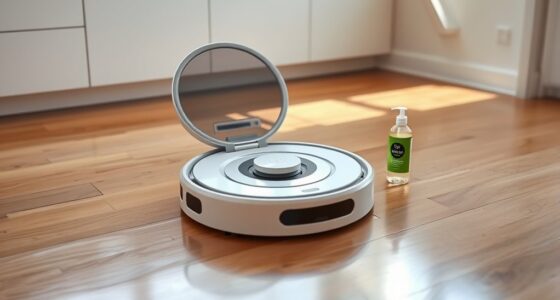
Is It Safe to Use Cleaning Solutions With My Robot Mop?
You should play it safe when considering cleaning solutions for your robot mop. Think of it as a delicate dance—using the right chemical safety and ensuring appliance compatibility keeps both your floors and device in harmony. Always check the manufacturer’s instructions before adding any solutions, as some chemicals can damage your robot or void the warranty. When in doubt, stick to water or approved cleaning formulas to protect your smart appliance.
Conclusion
Now that your home is a pristine runway ready for your robot mop, you’re setting the stage for a seamless dance of technology and tidiness. With obstacles cleared and settings tuned, your floors will gleam like a mirror reflecting a well-orchestrated symphony of cleanliness. Think of it as planting the seeds for a future where your robot effortlessly waltzes through your space, transforming chores into a graceful performance you just sit back and enjoy.