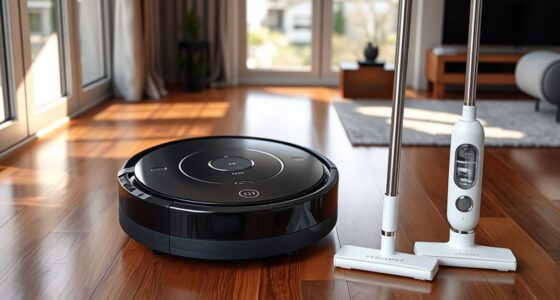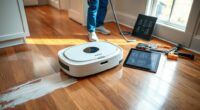
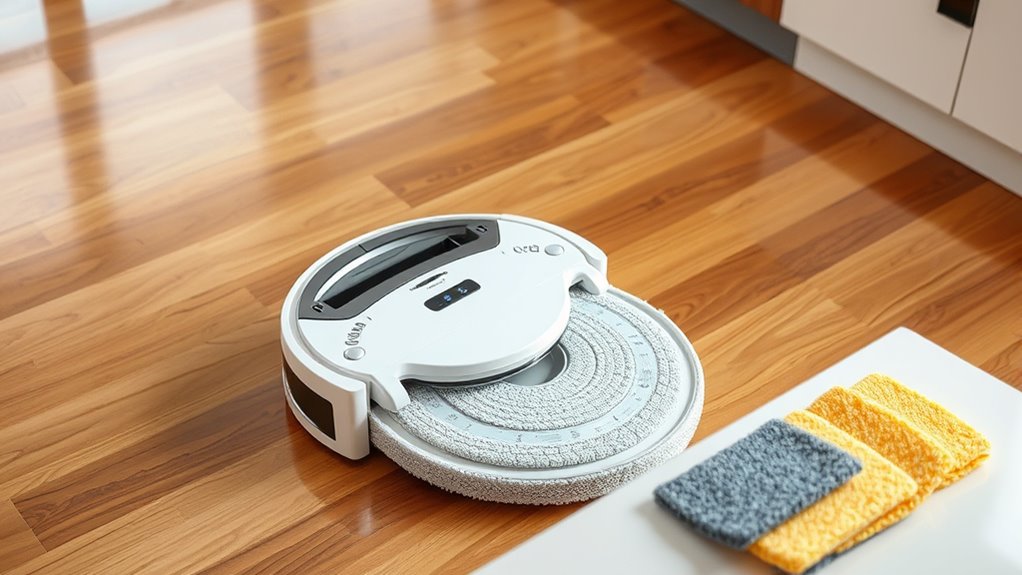
To keep your robot mop performing well and smelling fresh, regularly clean and replace the pads—preferably every few weeks or after heavy use. Gently remove, wash with warm water, and air dry the pads to prevent odors and buildup. Make sure to store components in a dry, cool place. If odors persist, check filters, clean the water tank, and disinfect parts. For more tips on maintaining cleanliness and avoiding smells, keep going.
Key Takeaways
- Regularly clean and replace pads to prevent odors and maintain effective cleaning performance.
- Ensure water tanks and pads are dry when not in use to inhibit mold and bacteria growth.
- Perform routine disinfecting of brushes, filters, and water reservoirs to eliminate odor-causing bacteria.
- Maintain filters and clean them regularly to ensure proper airflow and odor control.
- Store the robot in a cool, dry place and keep components dry to extend lifespan and prevent unpleasant smells.
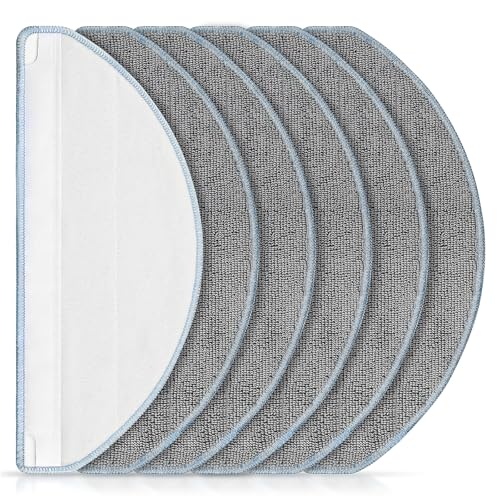
6 Pack Mop Replacement for iRobot Roomba 105 Combo & Essential Robot Vacuum
[Compatible Models] Washable mopping pads only compatible with iRobot Roomba Combo Essential Y0140 / Y0110 / Q011 /…
As an affiliate, we earn on qualifying purchases.
As an affiliate, we earn on qualifying purchases.
How Often to Replace and Clean Your Robot Mop Pads
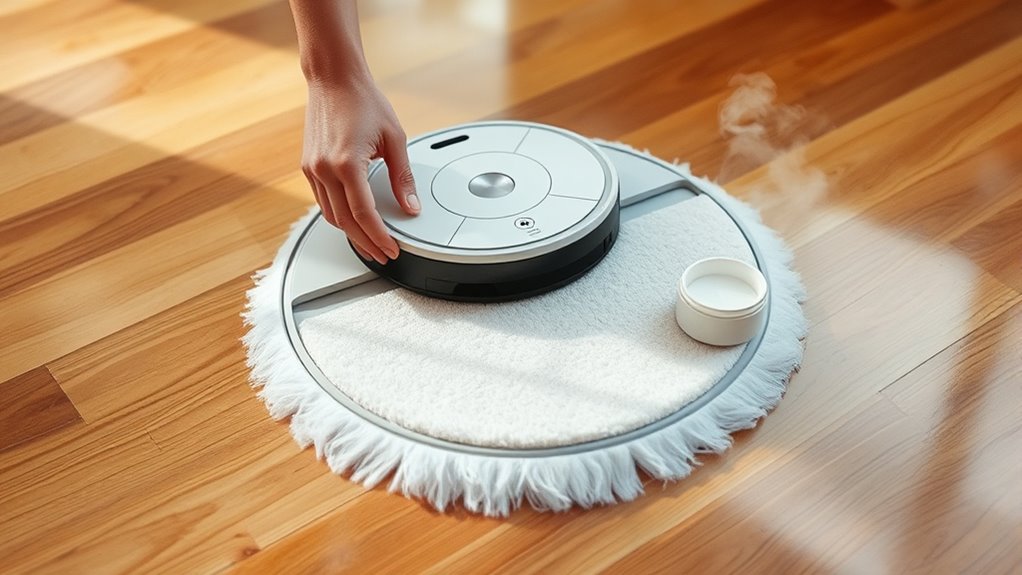
To keep your robot mop performing at its best, it’s important to regularly replace and clean the pads. Fresh pads help maintain cleaning efficiency and prevent odors. When pads become worn or overly dirty, they can impact your robot’s battery longevity, causing it to work harder and drain faster. Regularly inspecting and replacing pads also supports sensor calibration, ensuring your device navigates accurately and avoids obstacles. Clean pads prevent dirt buildup that can interfere with sensors and reduce overall performance. Depending on usage, you should replace pads every few weeks and clean them after each use. This routine helps your robot operate smoothly, extends its lifespan, and keeps your floors spotless. Proper maintenance of pads is essential for ideal robot mop functioning.
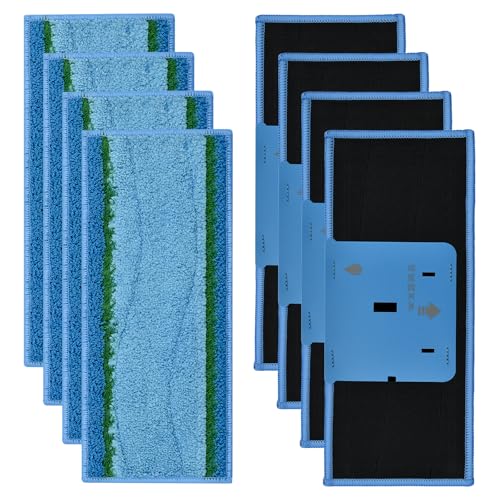
8 Pack Mop Pads for iRobot Braava Jet M6 (6110) (6012) (6112) (6113) Ultimate Robot Mop, Upgraded M6 Wet Mopping Pads, Washable Reusable Microfiber Deep Clean Mop Pads
Compatible: Washable and Reusable microfiber wet mopping pads compatible with iRobot Braava Jet M6 Ultimate Robot Mop 6012,…
As an affiliate, we earn on qualifying purchases.
As an affiliate, we earn on qualifying purchases.
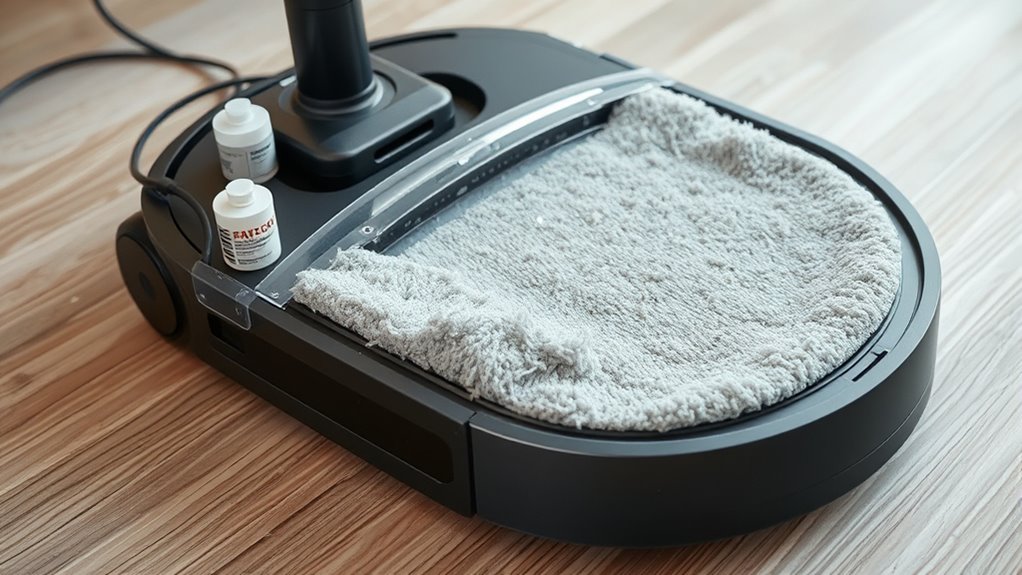
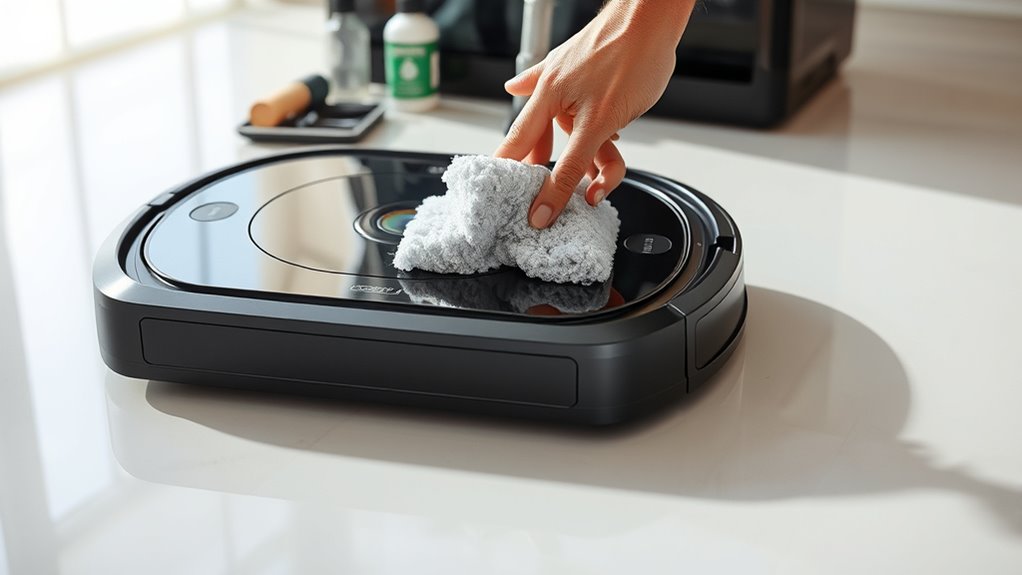
Step-by-Step Guide to Removing and Washing Cleaning Pads
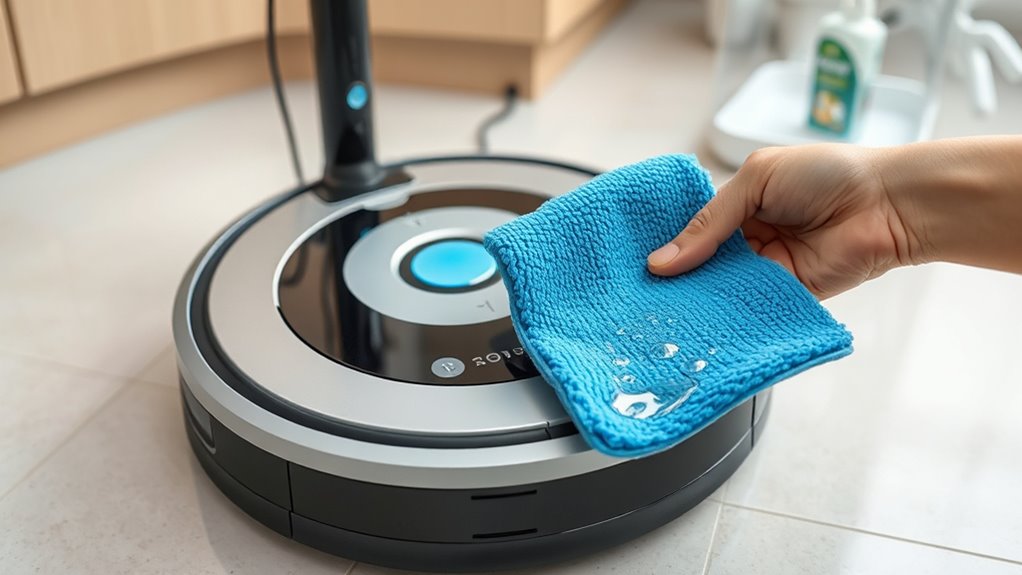
Removing and washing your robot mop’s cleaning pads is a straightforward process that helps maintain their effectiveness and extend their pad lifespan. First, turn off your robot and locate the pad release mechanism, usually at the bottom. Gently detach the pad, following your model’s specific instructions. Next, rinse the pad under warm water to remove dirt and debris. For a thorough clean, use a mild detergent if needed, but avoid harsh chemicals. After washing, squeeze out excess water and let the pad air dry completely before reattaching it to your robot. Incorporate this into your cleaning schedule to prevent odors and guarantee ideal cleaning performance. Regularly caring for your pads not only improves cleaning but also helps you get the most out of their lifespan.

Tank Funk Fix Robot Mop Waste Tank Deodorizer Powder Removes Dirty Water Smell from Robot Vacuum Mop Tanks No Foam Odor Eliminator for Roborock, Ecovacs, Eufy, Shark, Roomba, Dreame and More
ELIMINATES DIRTY TANK ODOR: Helps stop the strong smell that comes from dirty robot mop tank water sitting…
As an affiliate, we earn on qualifying purchases.
As an affiliate, we earn on qualifying purchases.
Tips for Choosing the Right Replacement Pads for Your Model
When selecting replacement pads, make certain they fit your robot mop perfectly to avoid leaks or inefficient cleaning. Consider the material and absorbency to make sure the pads handle your messes effectively. Choosing the right combination of compatibility and quality will keep your mop operating smoothly.
Compatibility and Fit
Ever wonder how to guarantee your replacement pads fit perfectly with your robot mop? Ensuring Compatibility issues are minimized starts with proper fit verification. First, check your model number and compare it with the pad specifications. Some pads are universal, while others are model-specific. To visualize, consider this table:
| Robot Model | Compatible Pads | Fit Verification Needed |
|---|---|---|
| Model A | Pad X, Y | Confirm size and attachment points |
| Model B | Pad Z | Check connector type |
| Model C | All-in-One | No verification needed |
This table helps you match your mop to the correct pads, avoiding compatibility issues. Always verify the fit before purchasing to ensure your cleaning experience stays smooth and effective.
Material and Absorbency
Are you choosing replacement pads that can effectively handle your cleaning needs? Pay attention to fabric types, as different materials offer varying durability and cleaning power. Microfiber is a popular choice because it’s highly absorbent and picks up dirt efficiently. Cotton-based pads tend to be softer but may have lower absorbency levels, making them better for light cleaning. Consider the absorbency levels needed for your home—heavier soils require more absorbent fabrics to prevent frequent replacements. Also, check if the material resists mold and odors, especially if you clean often. Selecting the right combination of fabric type and absorbency level ensures your robot mop performs ideally, keeps your floors spotless, and reduces the need for frequent pad changes.
Tank Funk Fix Robot Mop Waste Tank Deodorizer Powder Removes Dirty Water Smell from Robot Vacuum Mop Tanks No Foam Odor Eliminator for Roborock, Ecovacs, Eufy, Shark, Roomba, Dreame and More
ELIMINATES DIRTY TANK ODOR: Helps stop the strong smell that comes from dirty robot mop tank water sitting…
As an affiliate, we earn on qualifying purchases.
As an affiliate, we earn on qualifying purchases.
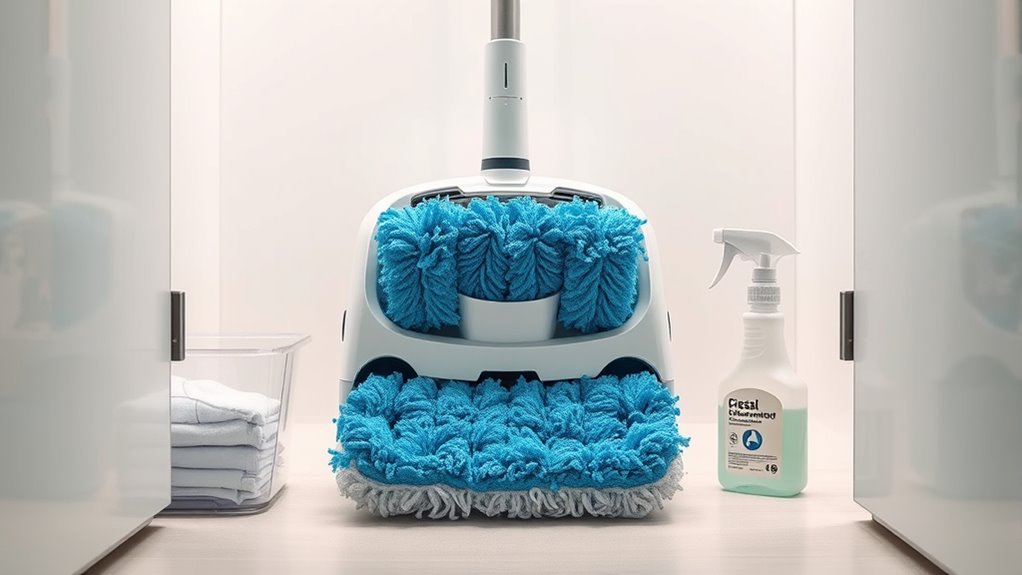
Best Practices for Disinfecting and Maintaining Your Robot Mop
To keep your robot mop performing its best, you need to follow effective disinfecting techniques regularly. Establishing a consistent maintenance schedule guarantees your device stays clean and functions properly. By doing so, you’ll extend your mop’s lifespan and maintain a hygienic home environment.
Effective Disinfecting Techniques
Regularly disinfecting your robot mop is essential to guarantee it remains effective and safe to use. Start by removing the water tank and cleaning solution reservoir, then use appropriate cleaning solutions designed for electronics and plastics to wipe down surfaces. Avoid harsh chemicals that can damage components. For extra disinfection, you can use diluted disinfectant wipes or odor eliminators specifically formulated for robotic devices. Focus on the brushes, wheels, and sensors, ensuring no residue or grime remains. Rinse all parts thoroughly and let them dry completely before reassembling. This routine prevents bacteria buildup and odors, keeping your robot mop hygienic and smelling fresh. Proper disinfection techniques extend the device’s lifespan and improve cleaning performance.
Regular Maintenance Schedule
Establishing a consistent maintenance schedule is key to keeping your robot mop performing at its best. Regularly check the battery life to guarantee your device has enough power for ideal cleaning sessions. Keep an eye on software updates, as these often include important performance improvements and bug fixes that enhance cleaning efficiency and longevity. Schedule weekly cleanings of the mop’s brushes and water tank to prevent buildup and odors. Don’t forget to reset the device and run diagnostics periodically to catch any issues early. By sticking to a routine, you help extend your mop’s lifespan, maintain its disinfecting capabilities, and ensure it operates smoothly. Consistency in maintenance is your best strategy for reliable, ongoing performance.
Preventing Unpleasant Odors in Your Robot Mop
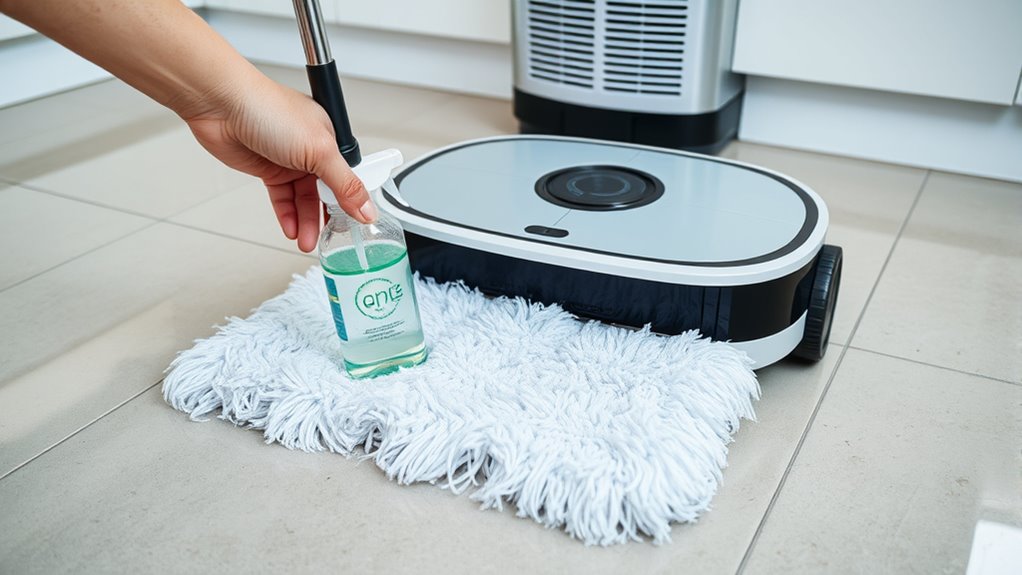
Unpleasant odors can quickly develop in your robot mop if you don’t take steps to prevent them. Regular air filter maintenance plays a key role in controlling smells, as a clean filter reduces trapped dirt and mold that cause odors. Make sure to replace or clean the filter as recommended by the manufacturer. Additionally, proper battery lifespan tips help ensure your robot operates efficiently and doesn’t overheat or malfunction, which can contribute to bad smells. Always charge the battery correctly and avoid letting it drain completely. Keep the water tank and cleaning pads dry when not in use, and store your robot in a cool, dry place. These simple habits help prevent odors from forming and keep your robot mop fresh and ready for next use.
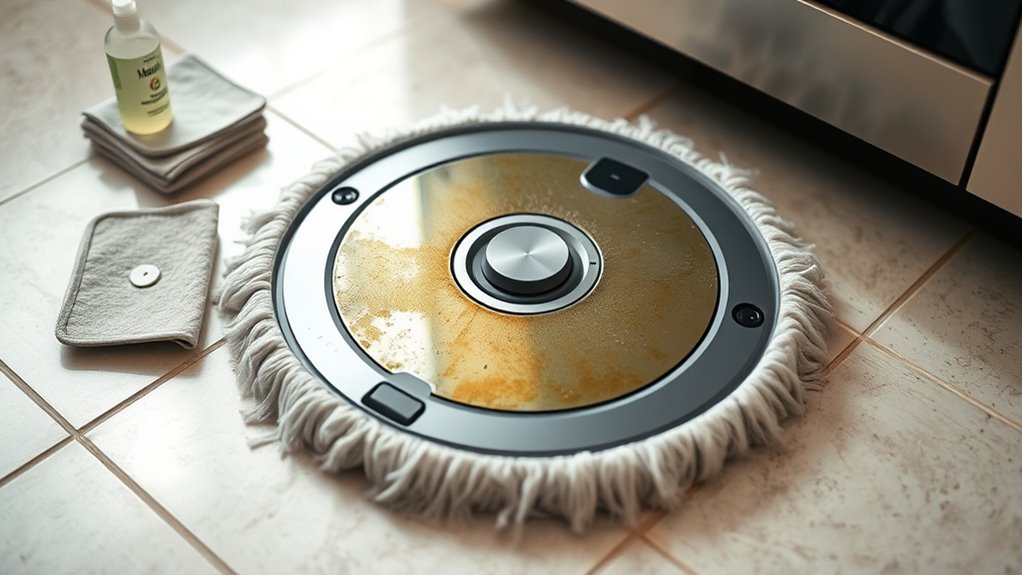
Common Causes of Bad Smells and How to Address Them
Many common issues can cause your robot mop to develop bad smells, often stemming from trapped dirt, mold, or bacteria. Odor buildup occurs when debris and residue accumulate in the cleaning pads, water tank, or brushes. If not cleaned regularly, mold can develop, especially in damp areas like the water reservoir, leading to unpleasant odors. Poor maintenance or infrequent cleaning allows bacteria to flourish, intensifying smells. To address these problems, you should empty and rinse the water tank after each use, replace cleaning pads frequently, and dry all parts thoroughly. Mold prevention is essential—keep the mop’s components dry and clean to inhibit mold growth. Regular maintenance not only prevents bad smells but also keeps your robot mop functioning at its best.
Easy Maintenance Routines to Keep Your Robot Mop Fresh and Efficient
To keep your robot mop fresh and running efficiently, incorporating simple maintenance routines into your regular schedule is essential. Regularly check the battery lifespan; avoid letting it drain completely, and recharge it promptly to extend its life. Keep your software up to date; manufacturers often release updates that improve performance and fix bugs. Additionally, clean the mop’s brushes and filters weekly to prevent odors and buildup. Visualize this routine with the following:
| Task | Frequency | Benefits |
|---|---|---|
| Battery check & recharge | Weekly | Longer battery life, reliable power |
| Software updates | As released | Enhanced efficiency, fewer glitches |
| Cleaning brushes & filters | Weekly | Prevent odors, maintain suction |
| Inspect for debris | After each use | Uninterrupted cleaning, freshness |
| Store in a cool place | When not in use | Preserve battery and components |
Troubleshooting Persistent Odors and Performance Issues
Persistent odors and performance issues can disrupt your cleaning routine, but addressing them promptly can restore your robot mop’s efficiency. Start by checking the filter; replacing it regularly ensures proper airflow and reduces odors. If your mop struggles with cleaning or runs intermittently, it might be a battery longevity issue. Fully charge the battery and monitor its performance; a declining battery can cause inconsistent operation. Additionally, inspect and clean the brush and water tank to prevent buildup that causes smells or blockages. If odors persist, consider deep cleaning the mop’s components and replacing filters more frequently. Ensuring your robot’s filter is fresh and the battery is in good condition helps maintain peak performance and prevents lingering smells, keeping your cleaning routine smooth and effective.
Frequently Asked Questions
Can Using Harsh Chemicals Damage My Robot Mop Pads?
Yes, using harsh chemicals can cause chemical damage to your robot mop pads, reducing their effectiveness. These chemicals can break down the material, leading to faster wear and shorter pad longevity. To keep your pads working well and lasting longer, stick to gentle, manufacturer-approved cleaning solutions. Avoid harsh cleaners, and regularly inspect your pads for signs of damage to guarantee ideal cleaning performance and avoid costly replacements.
How Do I Prevent Mold Growth Inside the Mop’s Water Tank?
You can prevent mold growth inside your robot mop’s water tank by regularly performing water tank cleaning and drying it thoroughly after each use. Mold prevention relies on keeping the tank dry and free of residue. Consider adding a small amount of vinegar during cleaning to inhibit mold. Make sure to empty, rinse, and dry the tank completely to stop mold from developing and keep your robot mop fresh and effective.
Are There Natural Deodorizers Safe for Robot Mop Maintenance?
Yes, natural deodorizers are safe cleaning agents for your robot mop. You can add a few drops of essential oils like lavender or tea tree oil to the water tank, which helps neutralize odors without harmful chemicals. Just make certain you use them sparingly to avoid clogging the system. These natural deodorizers keep your mop smelling fresh and are gentle on your device, making maintenance safer and more effective.
How Long Do Robot Mop Batteries Typically Last With Regular Use?
Your robot mop’s battery lifespan can stretch up to 500+ charging cycles, which might feel like a lifetime of spotless floors! With proper charging tips—like avoiding overcharging and keeping the battery cool—you make certain it stays powerful. Typically, with regular use, expect the battery to last about 1-2 years before needing a replacement. Keep an eye on performance, and your robot will keep cleaning like a champ!
Is It Necessary to Replace the Entire Mop if It Develops Persistent Odors?
You don’t need to replace the entire mop if it develops persistent odors. Instead, focus on odor elimination by thoroughly cleaning the mop pads, tanks, and brushes. Regular maintenance often resolves smell issues. If odors persist despite cleaning, consider replacing the mop or its parts. Mop replacement is a last resort; most odors can be eliminated with proper cleaning, saving you money and extending your device’s lifespan.
Conclusion
Regularly cleaning and replacing your robot mop pads keeps it performing at its best and prevents odors. Don’t skip these simple steps—they’re quick and easy, saving you time and effort in the long run. Even if it seems like a hassle, maintaining your mop guarantees a fresher home and better cleaning results. Trust me, a little routine maintenance pays off, making your cleaning experience smoother and more satisfying.