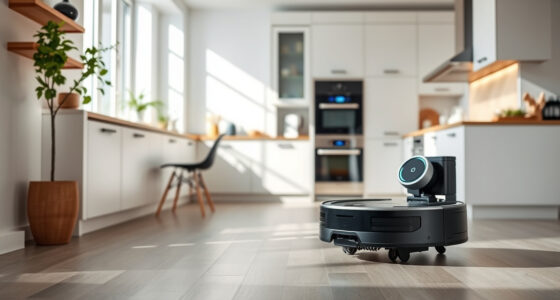
To keep your home spotless, clear clutter and cords before vacuuming and guarantee pathways are free of obstacles. Map out areas and schedule regular cleanings, especially in high-traffic zones. Keep doors open for full coverage and maintain your vacuum by cleaning filters and brushes often. Adjust settings for different surfaces, and ensure your device is properly charged and stored. Regular updates and performance checks help maintain peak performance—continue exploring for even more tips to optimize your cleaning routine.
Key Takeaways
- Clear clutter and remove cords to ensure smooth navigation and prevent jams.
- Create detailed maps and set no-go zones for targeted cleaning and coverage.
- Schedule regular cleaning sessions and monitor performance for optimal results.
- Maintain filters, brushes, and dustbins regularly to keep suction power high.
- Switch between surface modes to effectively clean carpets and hard floors.

MONSGA Robot Vacuum and Mop Combo, 90 Days Self-Emptying with 8000Pa Suction, LiDAR Smart Mapping, Dual Anti-Tangle for Pet Hair, Carpet and Hard Floor
- High Suction Power: 8000Pa max suction for deep cleaning
- Anti-Tangle Brush System: Reduces knots with dual anti-tangle design
- Automatic Carpet Boost: Increases suction on carpets for embedded debris
As an affiliate, we earn on qualifying purchases.
As an affiliate, we earn on qualifying purchases.
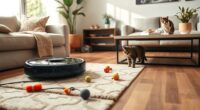
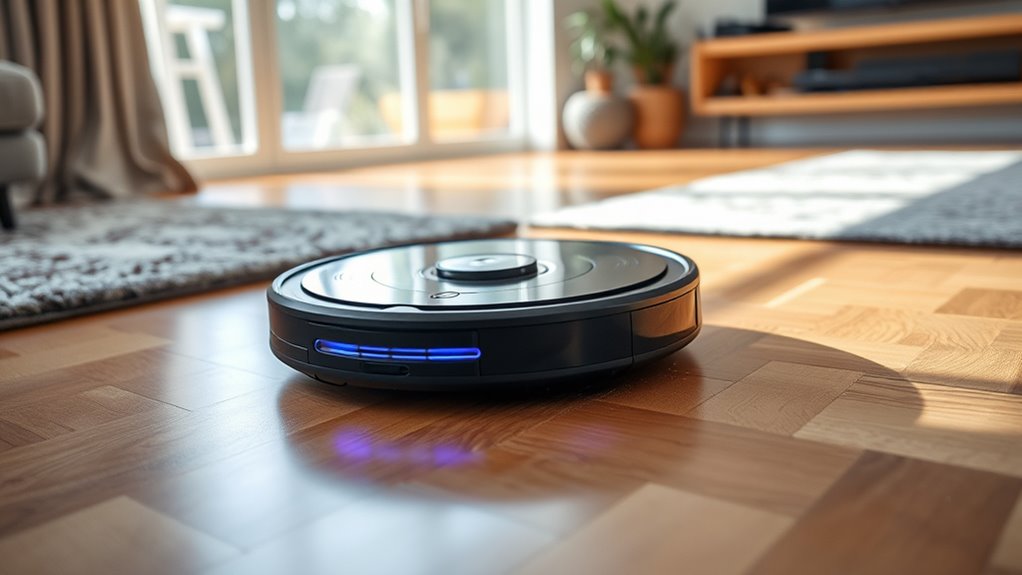
Clear the Clutter Before Vacuuming

Before you start vacuuming with your robot, it’s important to clear away any clutter that could obstruct its path. Proper clutter removal ensures your robot can move freely without getting stuck. Pick up toys, cords, and loose items from the floor, especially in high-traffic areas. Obstacle clearing not only prevents the vacuum from missing spots but also reduces the risk of damage. Take a moment to sweep away small debris or loose paper that could clog the sensors or brush rolls. Clear pathways and remove objects that could cause the robot to get stuck or miss cleaning spots. By doing this, you optimize your robot’s efficiency and extend its lifespan. A clutter-free environment makes the entire cleaning process smoother and more effective.

Replacement Parts & Accessories for iRobot E, I & J Series, Combo i5, j5 Series Robot Vacuum, Dual Multi-Surface Rubber Brushes & 3 HEPA Filter & 3 Edge-Sweeping Brushes
- Compatibility: Fits iRobot E, I, J series models
- High-Quality Brushes: Soft nylon bristles for effective cleaning
- HEPA Filtration: Captures 99% of small particles
As an affiliate, we earn on qualifying purchases.
As an affiliate, we earn on qualifying purchases.
Map Out Your Cleaning Areas
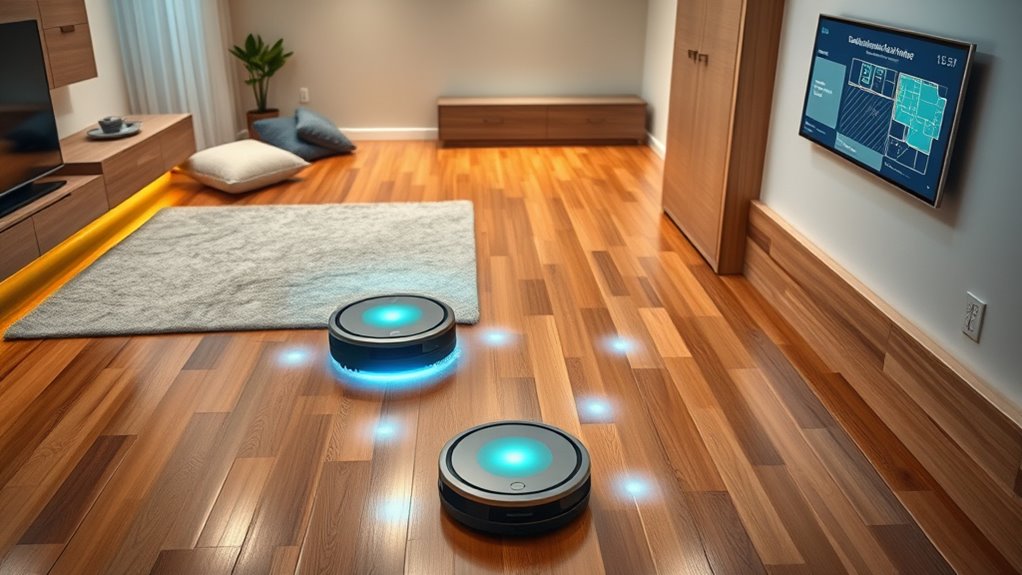
Mapping out your cleaning areas helps your robot vacuum work more efficiently. By using effective mapping strategies, you guarantee thorough coverage and avoid missed spots. Zone customization allows you to designate specific areas for frequent cleaning or to skip cluttered zones. This targeted approach saves time and battery life. Start by creating detailed maps of your home, marking high-traffic zones and delicate areas. Use your robot’s app to set boundaries or designate zones for focused cleaning. Here’s a quick overview:
| Zone Type | Purpose | Tips |
|---|---|---|
| High-Traffic | Regular cleaning | Schedule frequent runs |
| Sensitive Areas | Avoid fragile items | Use zone customization |
| Cluttered Spots | Deep cleaning in mess-prone areas | Map these zones separately |
Proper mapping ensures your robot vacuum adapts to your home’s unique layout.

Tikom Robot Vacuum and Mop Combo, 5000Pa Robotic Vacuum Cleaner, 150 Min Max, App & Remote Control, Ideal for Hard Floor, Carpet, Pet Hair, Self-Charge(G8000 Max)
- Strong Suction Power: 5000Pa for deep cleaning
- Vacuum & Mop Combo: Simultaneous cleaning in one pass
- Large Dustbin & Water Tank: 450ml dustbin and 300ml water tank
As an affiliate, we earn on qualifying purchases.
As an affiliate, we earn on qualifying purchases.
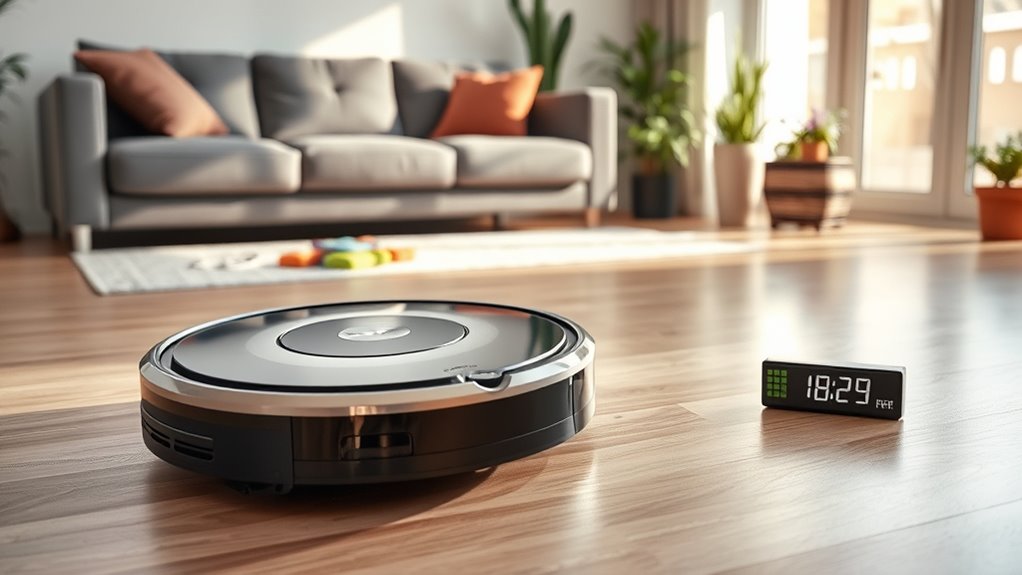
Schedule Regular Cleaning Sessions

Scheduling regular cleaning sessions keeps your floors consistently tidy without extra effort. Set your robot vacuum to run at the same time each day or week for convenience. Be sure to adapt the schedule on busy days to ensure your home stays clean, even when your routine changes.
Set Consistent Timings
Setting consistent timings for your robot vacuum helps make certain your floors stay clean without you having to think about it every day. Scheduled routines ensure your vacuum runs at ideal times, fitting seamlessly into your daily life. By establishing regular cleaning sessions, you improve your time management, freeing up mental space and reducing the need for manual scheduling. Pick times when foot traffic is lowest or when you’re usually out, so your robot works efficiently without interruption. Consistent scheduling also helps prevent dirt buildup and keeps allergens at bay. Use the vacuum’s app or control panel to set these routines, and stick to them. Over time, your home stays cleaner with less effort, giving you more time for other important tasks.
Adjust for Busy Days
On busy days, it’s important to adapt your robot vacuum’s routine so your floors stay clean without adding stress to your schedule. To do this, focus on effective time management and task prioritization. Consider setting your vacuum to run during times when you’re least busy, like midday or late evening. You can also skip or postpone cleaning sessions if your schedule is packed. Use features like scheduling and smart controls to automate cleaning. Remember, it’s about balancing cleanliness with your daily demands.
- Choose specific days for deep cleaning
- Increase cleaning frequency during high-traffic periods
- Reserve quick daily runs for maintenance
- Use app controls to start or pause remotely
- Prioritize tasks to keep essential areas spotless

WSUANE Robot Vacuum, Robot Vacuum and Mop, Smart Robotic Cleaner with APP/Remote/Voice Control, Scheduled Cleaning, Slim Body & Self-Charging, Ideal for Pet Hair, Carpet and Hard Floors
- 2-in-1 Vacuum & Mop: Cleans all floor types with 2300Pa suction
- Large Capacity & Water Tank: 200ml dust bin and 230ml water tank
- Multiple Control Options: App, remote, and voice control
As an affiliate, we earn on qualifying purchases.
As an affiliate, we earn on qualifying purchases.
Keep Doors and Barriers Open
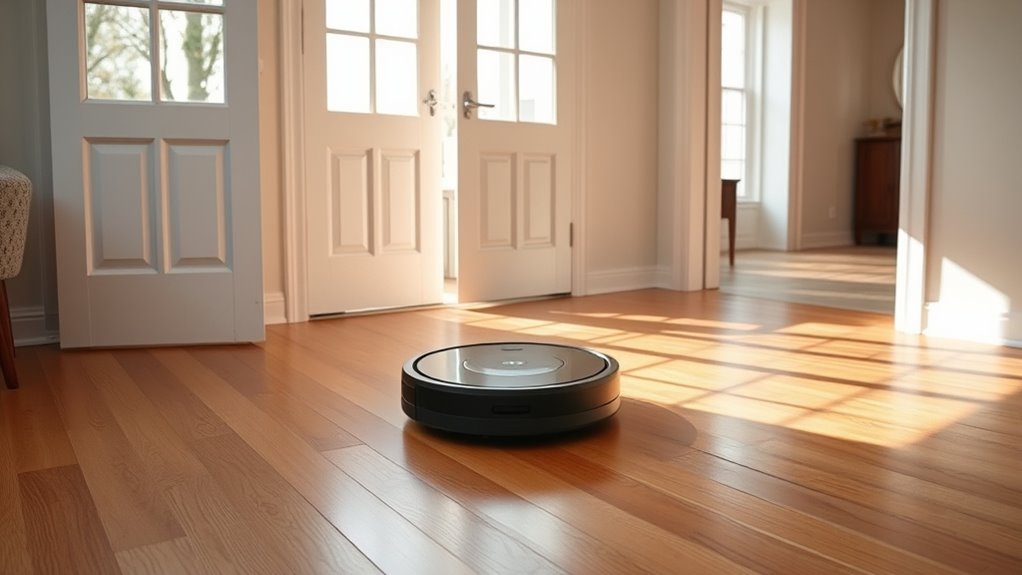
Keeping doors and barriers open prevents your robot vacuum from getting stuck and reduces obstruction risks. It allows the cleaner to cover more areas efficiently and navigate smoothly. Make sure to keep pathways clear for the best cleaning results.
Prevents Obstruction Risks
To prevent obstruction risks, it’s important to keep doors and barriers open so your robot vacuum can move freely through your home. Blocking access areas causes the vacuum to get stuck or miss spots, especially in busy spaces. Be mindful of pet hair that can clog brushes or filters, and always check for loose cables that could pose safety hazards or trap the vacuum.
- Clear paths of clutter and loose cords
- Keep doors open to high-traffic rooms
- Secure or tuck away pet hair around entrances
- Remove obstacles that could block sensors
- Regularly inspect for cable safety issues
Ensures Full Coverage
Ensuring full coverage with your robot vacuum depends heavily on keeping doors and barriers open so it can access every area of your home. Proper robot vacuum calibration helps optimize performance, but barriers can hinder its ability to complete cleaning cycles thoroughly. By removing obstructions and opening doors, you allow the vacuum to utilize coverage mapping techniques effectively, ensuring no spot is missed. When barriers are closed, the vacuum’s sensors may interpret rooms as separate spaces, leading to incomplete cleaning. Regular calibration and clear pathways enable the robot to create accurate maps of your home, improving overall coverage. Remember, the more accessible your spaces, the better your robot vacuum can do its job, leaving your home spotless with minimal effort.
Facilitates Navigation Efficiency
Opening doors and barriers allows your robot vacuum to navigate your home more efficiently by providing clear pathways. When doors are open, the vacuum’s sensors can better calibrate and detect obstacles, reducing chances of getting stuck or missing spots. This setup enhances obstacle detection, letting your vacuum adapt quickly to changes in layout. Keep in mind:
- Open pathways help with accurate sensor calibration
- Less chance of obstacles blocking the vacuum’s route
- Improved navigation reduces cleaning time
- Fewer collisions with furniture or walls
- Better coverage of hard-to-reach areas
Maintain and Clean Your Vacuum Frequently

Regularly maintaining and cleaning your robot vacuum is vital for peak performance. Consistent vacuum maintenance guarantees all parts function smoothly and prolongs the device’s lifespan. Start by checking and replacing filters as needed, and remove any tangled hair or debris from brushes. Dustbin cleaning is essential—empty the dustbin after each use to prevent clogs and maintain suction power. Wiping sensors and charging contacts also helps maintain flawless navigation and charging efficiency. Keep an eye on brush rollers and remove hair or debris that may hinder movement. By staying proactive with these tasks, you ensure your vacuum operates at the best capacity, reducing the chance of breakdowns and improving cleaning results. Regular upkeep keeps your robot vacuum ready to tackle dirt and dust effectively.
Use Virtual Barriers and No-Go Zones
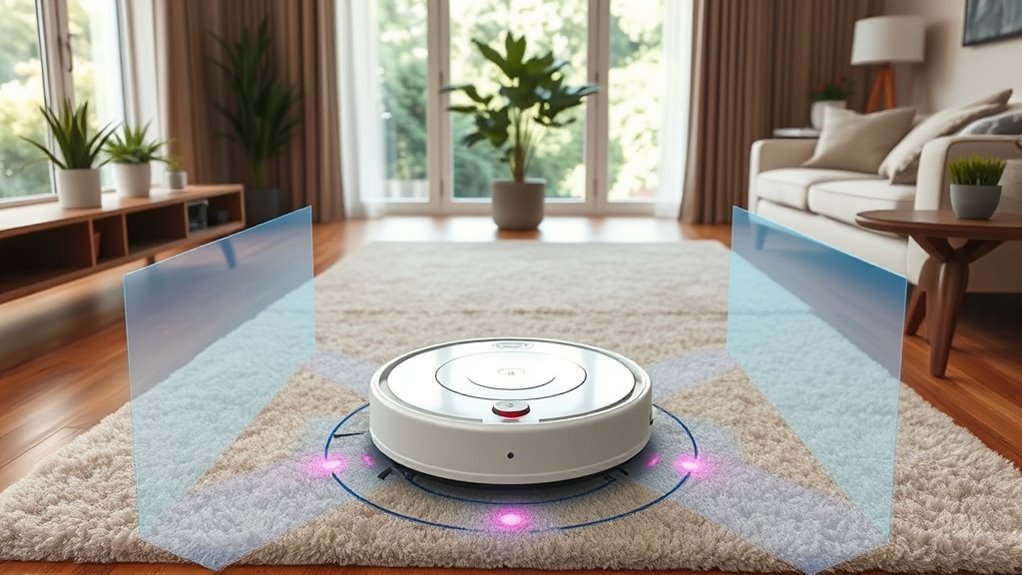
Using virtual barriers and no-go zones allows you to customize your robot vacuum’s cleaning path. You can prevent it from entering areas like pet beds, cords, or delicate surfaces, saving time and avoiding mishaps. Virtual barriers create invisible boundaries that the vacuum respects, while no-go zones are designated areas it won’t cross. This control guarantees thorough cleaning without repeated trips or missed spots.
- Protect fragile items or electronics
- Keep pets and kids safe from the vacuum
- Focus cleaning on high-traffic areas
- Prevent the vacuum from getting stuck
- Save time by avoiding unnecessary coverage
Adjust Settings for Different Floor Types
Adjusting your robot vacuum’s settings for different floor types can make cleaning more effective. You should check and tweak the floor detection settings so it recognizes surfaces properly. Switching between tile and carpet modes helps the vacuum clean thoroughly without wasting time or energy.
Floor Detection Settings
Since different floor types require different cleaning approaches, it’s important to tailor your robot vacuum’s floor detection settings accordingly. Proper sensor calibration guarantees your device accurately identifies surfaces, preventing missed spots or unnecessary repeats. Adjusting obstacle detection helps your vacuum navigate smoothly without getting stuck or causing damage. You can optimize these settings by:
- Calibrating sensors for precise floor recognition
- Fine-tuning obstacle detection sensitivity
- Switching between modes for carpets and hard floors
- Using virtual barriers to protect delicate surfaces
- Regularly updating firmware for improved accuracy
These adjustments improve efficiency, extend the lifespan of your vacuum, and ensure thorough cleaning across various surfaces. Properly set detection settings give you peace of mind, knowing your device is working effectively in every corner of your home.
Tile vs. Carpet Mode
To get the best cleaning results, you need to customize your robot vacuum’s settings for tile and carpet floors. Switching between tile cleaning and carpet maintenance modes ensures ideal suction and brush performance. For tile, set your vacuum to a gentler mode to avoid damage and focus on removing dust and debris from hard surfaces. When tackling carpets, increase suction power and switch to a mode that lifts embedded dirt effectively. Adjusting these settings helps prevent unnecessary wear and maximizes cleaning efficiency. Use the table below to guide your adjustments:
| Floor Type | Recommended Settings |
|---|---|
| Tile | Gentle suction, standard brushes |
| Carpet | Max suction, deep-clean brushes |
| Tile | Focus on dust removal |
| Carpet | Remove deep-seated dirt |
| Maintenance | Regularly switch modes for best results |
Ensure Proper Battery Charging and Storage
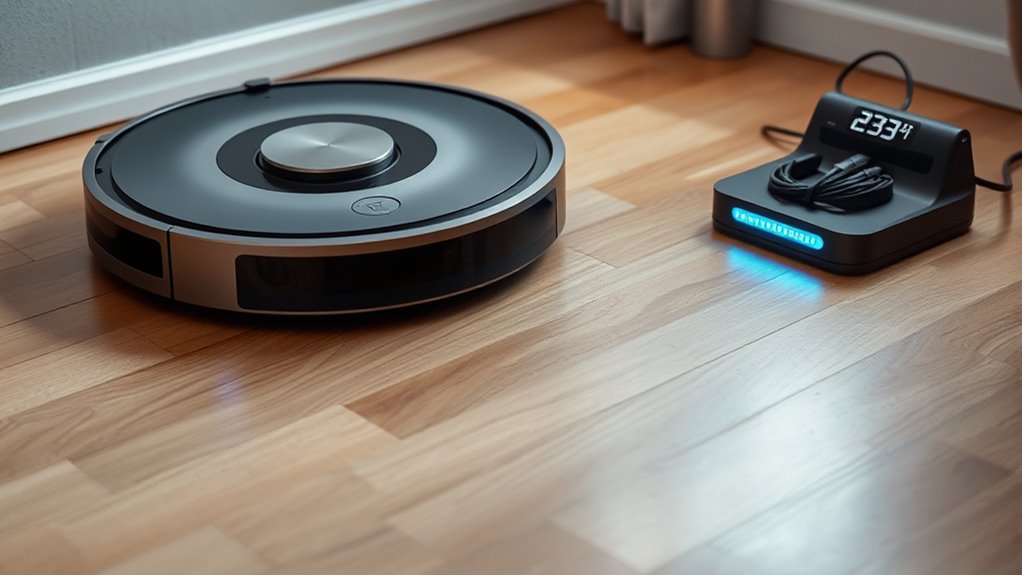
Proper battery charging and storage are essential for maintaining your robot vacuum’s performance and longevity. To guarantee optimal battery maintenance, always follow the manufacturer’s charging instructions. Avoid leaving your vacuum plugged in constantly, as overcharging can degrade the battery. When not in use for extended periods, store your robot in a cool, dry place, away from direct sunlight. Proper storage best practices also include keeping the battery at around 50% charge if you’ll be storing it long-term. Regularly check the battery condition and replace it if you notice significant power loss. Additionally, keep the charging contacts clean to prevent connectivity issues. Proper care helps maximize battery life and keeps your robot vacuum ready for effective cleaning sessions.
Monitor and Review Cleaning Performance
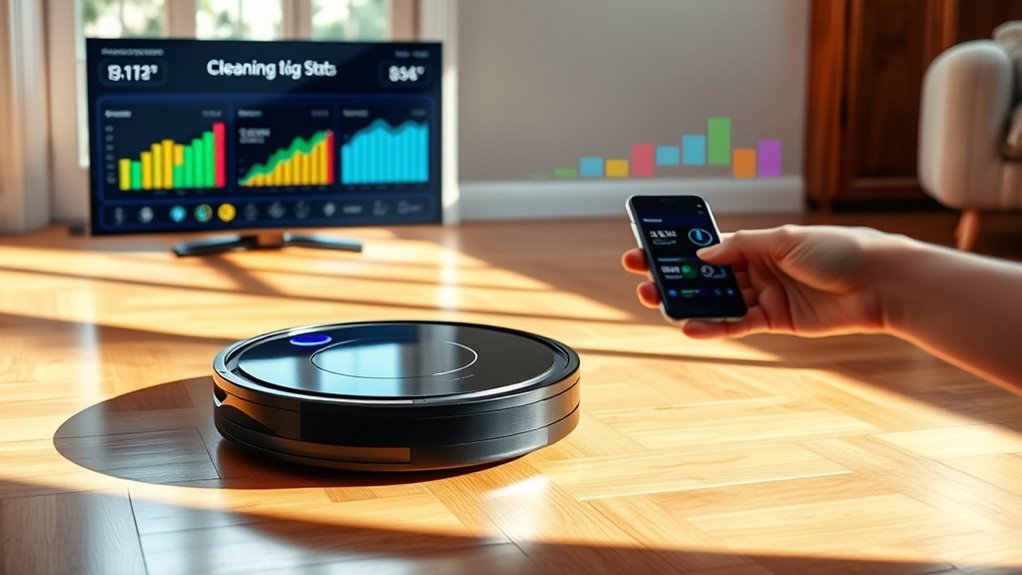
Regularly monitoring and reviewing your robot vacuum’s cleaning performance helps guarantee it operates at its best. Check performance metrics like suction power, battery life, and navigation accuracy to identify any issues. Pay attention to cleaning effectiveness by observing areas the vacuum may miss or struggle with, such as corners or thick carpets. Many models offer app-based reports or logs that provide insights into cleaning history and problem spots. Use this information to assess whether the vacuum needs maintenance, such as brush cleaning or filter replacement, or if adjustments in scheduling could improve results. Consistent review ensures your robot maintains peak performance, saves you time, and keeps your home spotless. Staying proactive means fewer surprises and better overall cleaning efficiency.
Update Firmware and App Settings Regularly
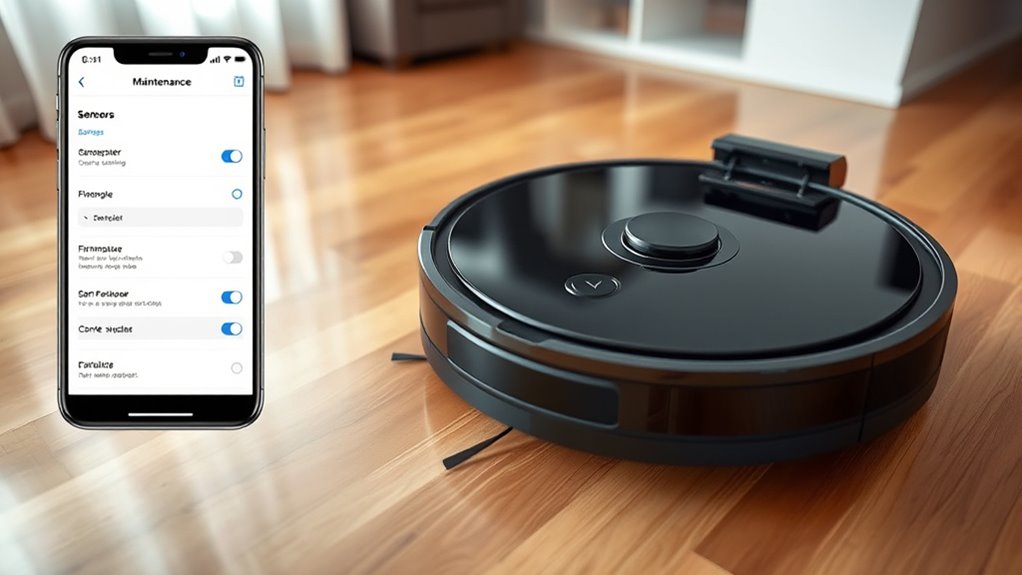
Keeping your robot vacuum’s firmware and app settings up to date guarantees it runs smoothly and efficiently. Regular firmware updates fix bugs, improve navigation, and add new features. Staying current with app customization options allows you to tailor cleaning schedules, zones, and preferences, maximizing performance. To guarantee ideal operation:
Regularly update your robot vacuum’s firmware and app settings for optimal cleaning performance.
- Check for firmware updates monthly
- Enable automatic updates if available
- Adjust app settings for specific rooms or schedules
- Personalize cleaning modes for different surfaces
- Review app notifications for new features or issues
Frequently Asked Questions
How Do I Troubleshoot if My Robot Vacuum Gets Stuck Frequently?
If your robot vacuum gets stuck frequently, start by checking for navigation errors caused by tangled cords, loose rugs, or furniture. Clear obstacles and make certain the path is free of clutter. Also, look into charging issues; a low battery might cause erratic movements. Reset the device if needed, and update its software. Regularly cleaning sensors and wheels helps improve navigation, reducing the chances of it getting stuck again.
Can Robot Vacuums Effectively Clean Pet Hair and Allergens?
Think of your robot vacuum as a modern-day knight fighting the dragon of pet hair and allergens. It can effectively remove pet hair and reduce allergens, thanks to specialized brushes and HEPA filters. Regularly empty the bin and check brushes for hair tangles. While it may not replace deep cleaning, it keeps your floors cleaner daily, helping your home stay allergen-free and pet hair-free, making life more comfortable.
What Should I Do if My Vacuum’s Sensors Aren’T Detecting Obstacles?
If your robot vacuum’s sensors aren’t detecting obstacles, start by cleaning the sensors with a soft cloth to remove dust and debris. Then, check if the sensors need calibration—consult your user manual for calibration instructions. Ensuring the sensors are clean and properly calibrated improves obstacle detection, preventing missed spots or collisions. Regular maintenance helps your vacuum navigate smoothly, keeping your home spotless and free of obstacles.
How Do I Choose the Best Accessories for My Specific Vacuum Model?
Choosing the best accessories for your vacuum is like matching puzzle pieces—you need perfect fit and compatibility. Start by checking your model’s specifications for vacuum customization options, ensuring accessories are compatible. Read reviews and manufacturer recommendations to find tools that enhance performance. Opt for brushes, filters, or extension tools designed specifically for your vacuum. This way, you’ll maximize efficiency and keep your cleaning routine seamless and hassle-free.
Are There Safety Precautions to Consider When Using Virtual Barriers?
When setting up virtual barriers, follow safety zone guidelines carefully to prevent your robot vacuum from entering unsafe areas. Make certain the virtual barrier is properly placed and tested to keep pets, children, or fragile items safe. Regularly review and adjust the virtual barrier setup, especially if your home layout changes. Always stay attentive to your vacuum’s navigation and avoid blocking essential pathways, ensuring a safe and efficient cleaning experience.
Conclusion
So, there you have it—your foolproof guide to making your robot vacuum feel like royalty while you sit back and relax. Just remember, even the smartest bots need a little human help now and then. Keep things tidy, stay on top of updates, and maybe toss a treat or two their way. Because nothing says “home sweet home” like a spotless house, courtesy of your trusty robot, and a little bit of your own good humor.