If your window robot keeps slipping, start by cleaning the window surface thoroughly to remove dirt, grime, or dust that could reduce suction. Confirm the device is properly positioned with all suction cups firmly pressed and aligned correctly. Check for any damage or debris on the magnets or suction cups and clean or replace them if needed. Make sure the power source and batteries are working well. Keep an eye on all components to prevent slips—more tips follow if you want to fix this once and for all.
Key Takeaways
- Ensure the window surface is clean, dry, and smooth for better suction and grip.
- Properly position and press suction cups firmly, avoiding corners and obstructions.
- Regularly inspect and clean suction cups, magnets, and tracks to prevent dirt buildup.
- Lubricate moving parts and gears to promote smooth operation and reduce slipping.
- Check power connections, batteries, and sensor cleanliness to ensure stable device performance.

Dirt Devil, 0400009 Filter 3 Pieces
Includes: 1 x Gummlippe, 1 x microfibre cloth, 1 x Grobschmutztuch
As an affiliate, we earn on qualifying purchases.
As an affiliate, we earn on qualifying purchases.
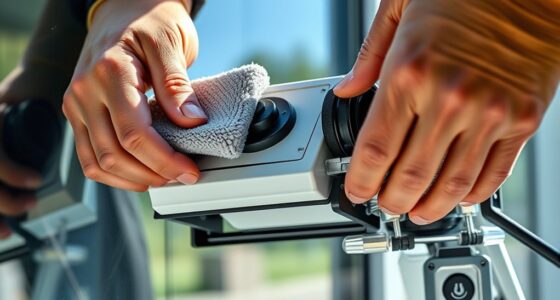
Checking the Surface Preparation Before Use
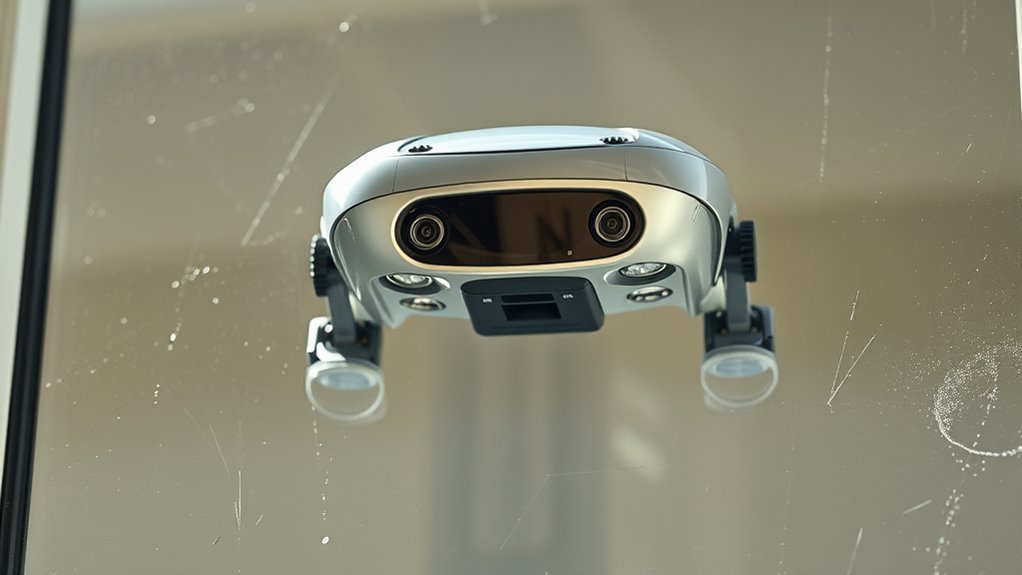
Before using your window robot, it’s essential to make certain the surface is properly prepared. Start by inspecting the surface texture; it should be smooth and even. Rough or uneven surfaces can cause the robot to slip or lose grip. Next, check for any dirt residue, dust, or grime that might interfere with the robot’s suction cups. Residue can reduce adhesion, making it difficult for the robot to stay in place. Clean the window thoroughly with a suitable cleaner, ensuring all dirt and streaks are removed. Dry the surface completely before starting. A clean, smooth surface with minimal dirt residue ensures ideal suction and prevents slipping. Proper preparation is key to ensuring your window robot functions efficiently and stays securely attached during operation.

Tosima W5 Window Cleaning Robot, Dual Direction Auto-Spray Smart Window Cleaner with Triple Safety System, Smart Navigation, Remote Control, for All Smooth Surfaces, with 8 Rags, White Robotic Vacuums
Revolutionize your cleaning routine with our automatic robot window cleaner machine! Featuring bidirectional ultrasonic atomization water spray, it…
As an affiliate, we earn on qualifying purchases.
As an affiliate, we earn on qualifying purchases.
Ensuring Proper Placement and Alignment

Once you’ve confirmed the surface is clean and smooth, carefully position the window robot so that its suction cups align with the edges of the window. Proper placement guarantees ideal grip on the glass surface and prevents slipping. Make sure the robot is centered on the window frame or glass surface, avoiding corners or uneven areas. Check that the suction cups are firmly pressed against the glass to create a secure seal. Adjust the angle if necessary to ensure even contact across all cups. Keep in mind that misalignment can cause instability during operation. To improve adhesion, verify that the robot’s alignment matches the shape of your window, whether it’s on the window frame or directly on the glass surface. Proper placement is key to safe, efficient cleaning.

EAEGE Replacement Pads for Window Cleaning Robot, Microfiber Cleaning Clothes Window Cleaner Robot Replacement Set, Reusable Machine Washable, 10pcs
【Efficient Cleaning】The replacement pad used for the window cleaning robot has good cleaning power. It is assembled with…
As an affiliate, we earn on qualifying purchases.
As an affiliate, we earn on qualifying purchases.
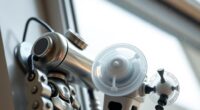
Inspecting and Replacing the Magnetic or Suction Components
If your window robot is struggling to stick or slipping during operation, inspecting the magnetic or suction components is essential. Check the magnetic alignment; misaligned magnets reduce grip, causing slipping. For suction, examine the suction strength—dirt or damage can weaken the seal. If needed, replace worn or broken parts to restore proper adhesion. Here’s a quick overview:
| Component | Issue | Solution |
|---|---|---|
| Magnetic Magnet | Misalignment reduces magnetic pull | Realign magnets carefully |
| Magnet Housing | Damage or debris disrupts contact | Clean or replace housing |
| Suction Cup | Dirt or cracks weaken suction | Clean or replace cups |
| Seal Integrity | Worn seals decrease suction | Replace seals or cups |
Proper inspection and replacement guarantee your window robot maintains a secure grip.

Baby Bath Toys Suction Toy: No Hole Bath Toy for Toddlers – Robot Fidget Suction Cup Toys – Window Building Sensory Toy for Boys Girls Travel Gifts – Travel Essential Road Trip Activities for Kids
Patented Design
As an affiliate, we earn on qualifying purchases.
As an affiliate, we earn on qualifying purchases.
Verifying the Power Source and Battery Condition
Start by checking that the window robot is properly plugged into the power outlet and that the outlet has power. Next, inspect the battery’s charge level to make certain it’s holding a proper charge. If the batteries are worn or dead, replace them with fresh ones to restore proper operation.
Check Power Outlet Connection
To guarantee your window robot receives power, you need to verify that it’s properly connected to the outlet and that its batteries are in good condition. Start by inspecting the power socket for any signs of damage or looseness. Ensure the plug is fully inserted into the electrical connection. Check for the following:
- The power socket is working by testing it with another device
- The power cord isn’t frayed or damaged
- The outlet switch is turned on
- The robot’s power connection is secure and properly plugged in
If your robot still isn’t powering up, try plugging it into a different outlet. Confirming a stable electrical connection ensures your window robot gets the power it needs to operate correctly.
Inspect Battery Charge Level
Have you checked the battery charge level of your window robot recently? Low battery health can cause slipping issues, so ensuring it’s properly charged is essential. Remove the battery and examine its indicator lights or use a battery tester to verify its current charge. If the charge is low or inconsistent, it could be due to decreased charging efficiency. Make sure the charging contacts are clean and free of debris, as dirt can hinder proper power flow. Also, confirm that the charger is functioning correctly and delivering the right voltage. A well-maintained battery with good charging efficiency will hold a charge longer and operate smoothly. Regularly inspecting the battery’s condition helps prevent slips caused by power shortages and keeps your window robot running reliably.
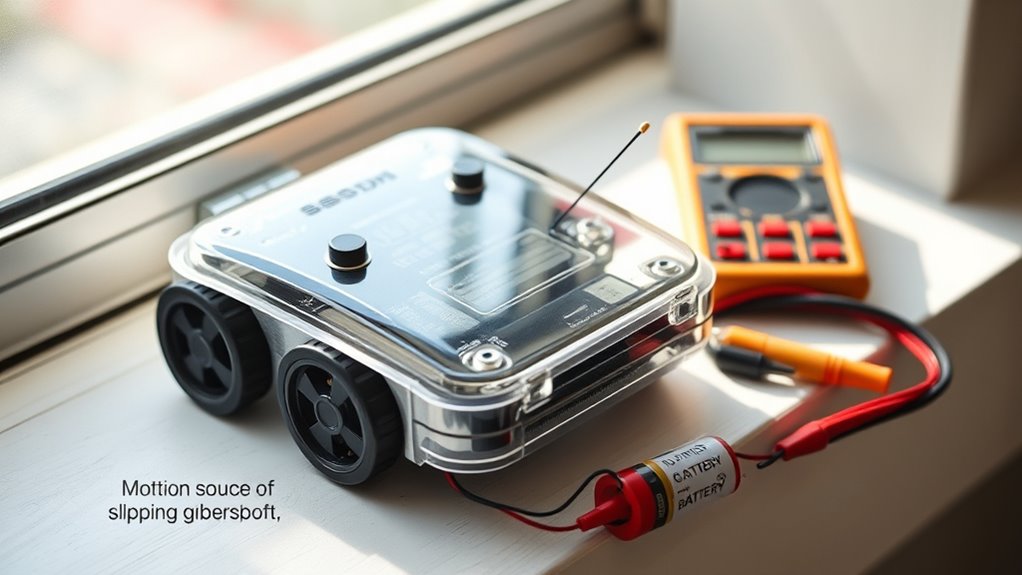
Replace Worn or Dead Batteries
If your window robot still experiences slipping or inconsistent performance after checking the charge level, it might be time to replace worn or dead batteries. Over time, batteries lose their ability to hold a charge, reducing overall performance. Consider the battery lifespan and your charging habits, as improper charging can accelerate battery degradation. Before replacing, ensure the batteries are genuinely dead by testing with a multimeter. When installing new batteries, follow manufacturer recommendations for type and orientation. Keep in mind:
- Batteries may no longer hold a full charge due to age
- Frequent partial charges can shorten lifespan
- Using incompatible chargers speeds up wear
- Regularly inspecting battery contacts prevents corrosion
Replacing worn batteries guarantees your window robot maintains peak performance and prevents slipping issues caused by weak power sources.
Examining the Robot’s Cleaning Path and Sensors
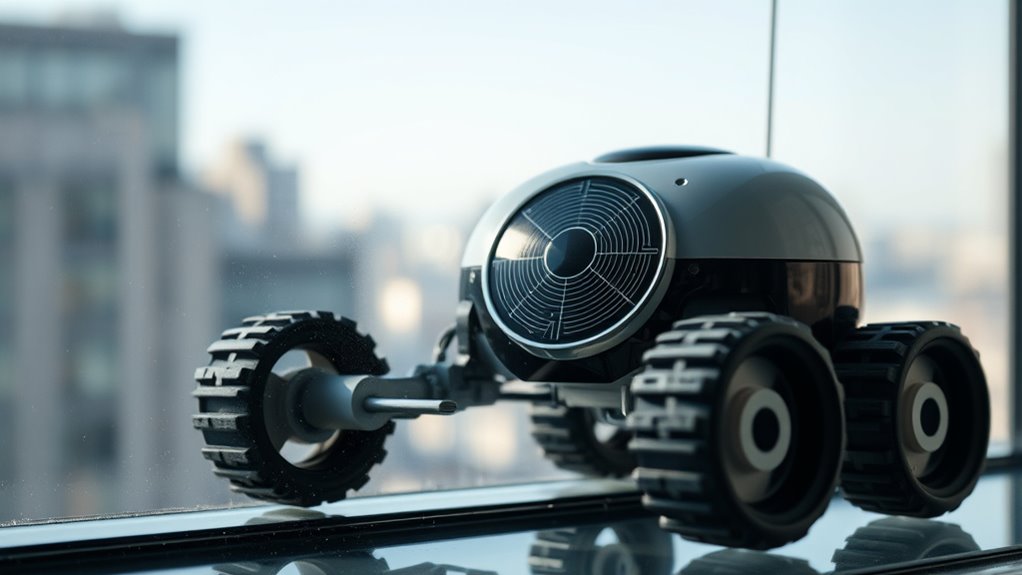
Understanding how your robot vacuum navigates your space starts with examining its cleaning path and sensors. First, check if the sensors are clean and unobstructed, as dirt or dust can interfere with sensor calibration. Proper sensor calibration ensures your robot accurately detects edges and obstacles, preventing slips or falls. Observe the cleaning path—if it seems inefficient or repetitive, the robot may need a reset or recalibration to improve path optimization. Sometimes, sensors misread surfaces, causing the robot to slip or hesitate. Clearing debris from sensors and ensuring they’re correctly aligned helps maintain reliable navigation. By optimizing the cleaning path and maintaining sensor accuracy, you reduce the chances of slipping, keeping your window robot working smoothly and effectively.
Adjusting Settings for Optimal Grip and Performance
To guarantee your window robot maintains ideal grip and performance, adjusting its settings is essential. Focus on enhancing grip by fine-tuning sensor calibration and ensuring optimal contact with the glass. Proper sensor calibration helps your robot accurately detect the surface and prevent slipping, while grip enhancement techniques improve adhesion. You can:
Ensure your window robot maintains optimal grip by calibrating sensors and cleaning surfaces regularly.
- Adjust the suction strength or grip settings in the control panel
- Recalibrate sensors for accurate surface detection
- Clean sensors and suction cups to remove debris
- Test different surface types or angles for better performance
These adjustments ensure your robot applies the right amount of pressure and maintains secure contact. Regularly updating settings based on surface conditions maximizes grip and prevents slipping, keeping your cleaning routine smooth and effective.
Regular Maintenance and Troubleshooting Tips

To keep your window robot working smoothly, you should clean the tracks regularly and check for any obstructions. Make sure to lubricate moving parts to prevent wear and tear. Staying on top of these maintenance tasks can help troubleshoot common issues quickly and keep your device operating efficiently.
Clean the Tracks Regularly
Regularly cleaning the tracks of your window robot is essential to keep it functioning smoothly. Dust buildup and track debris can cause slipping or uneven movement. To prevent this, inspect the tracks often and remove any obstructions. Use a soft cloth or brush to wipe away dust and debris, ensuring the tracks stay clear.
Some helpful tips include:
- Remove loose debris with a small vacuum or compressed air
- Wipe the tracks with a damp cloth to eliminate sticky residues
- Check for and clear any lodged dirt or grime
- Apply a light lubricant if the tracks appear dry or squeaky
Keeping the tracks clean minimizes slipping issues and prolongs your robot’s lifespan. Regular maintenance makes sure your window robot operates efficiently and safely.
Check for Obstructions
Obstructions can quickly disrupt your window robot’s performance, so it’s important to check for them before each use. Clear any debris, dust, or objects that might block the window grip or interfere with smooth operation. Visualize your window’s surface like this:
| Surface Type | Possible Obstructions | Action Needed |
|---|---|---|
| Glass | Dust, stickers | Wipe clean |
| Frame | Dirt, paint spots | Remove debris |
| Edge | Loose fittings | Secure or clear |
In addition, guarantee nothing is dangling or stuck that could hinder obstruction removal. Keep your window grip clean and free from obstructions to maintain peak performance. Regularly inspecting these areas helps prevent slipping and ensures smooth, safe operation of your window robot.
Lubricate Moving Parts
Lubricating the moving parts of your window robot is essential for smooth operation and to prevent unnecessary wear. Regularly lubricate gears to reduce friction and ensure they move seamlessly. Applying silicone spray is an effective way to keep components well-lubricated without attracting dirt. When lubricating, focus on key areas like the gear assembly and sliding tracks. Use a clean cloth to remove excess dirt before applying lubricant. Be careful not to over-lubricate, as excess spray can cause buildup. Remember to:
- Lubricate gears regularly to avoid slipping
- Apply silicone spray to sliding tracks for smooth movement
- Wipe off excess lubricant to prevent dirt accumulation
- Check for signs of wear and reapply as needed
Proper lubrication keeps your window robot functioning reliably and extends its lifespan.
Frequently Asked Questions
Can Environmental Factors Cause My Window Robot to Slip?
Yes, environmental factors can cause your window robot to slip. Weather interference like rain or high humidity can affect its grip, especially if the surface isn’t dry. Additionally, surface cleanliness plays an essential role; dirt, dust, or streaks can reduce traction. To prevent slipping, make sure the window is clean and dry before operating, and avoid using the robot during adverse weather conditions for best performance.
How Do I Reset the Robot’s Slipping Settings?
To reset your window robot’s slipping settings, start by performing a sensor calibration. This helps recalibrate the sensors that detect slipping. Next, check if a software update is obtainable; updating the software can fix bugs causing slipping issues. If needed, reset the robot to factory settings through the app or control panel, then reconfigure the slipping parameters. Regular calibration and updates ensure your robot functions smoothly without slipping.
Is There a Way to Test the Magnetic or Suction Strength?
Imagine holding a magnet to see if it clings tightly—that’s exactly what a suction test does for your window robot. To test the magnetic strength or suction, place the robot on a smooth surface and gently pull. If it resists and stays put, your suction is strong. If it slips easily, you may need to check the magnetic connections or clean the suction cups for better grip.
Why Does My Robot Slip Only on Certain Window Types?
Your robot slips only on certain window types because different glass compositions and window frames affect its grip. Some glass, like textured or low-e coatings, reduces suction or magnetic strength, causing slipping. Likewise, window frames made of metal or uneven surfaces can interfere with the robot’s stability. To prevent slipping, make certain the glass is clean, smooth, and compatible with your robot’s suction or magnetic system, and consider using a pad for extra grip.
How Often Should I Replace the Robot’s Magnetic or Suction Components?
You should replace your robot’s magnetic or suction components when you notice a decline in magnetic lifespan or suction durability, typically every 6 to 12 months. Regularly inspect the components for wear or damage, especially if your robot starts slipping more often. Maintaining and replacing these parts guarantees your window robot stays firmly attached and functions effectively, preventing slipping issues and prolonging its overall lifespan.
Conclusion
Remember, a little attention to detail often coincides with a smoother cleaning experience. By checking your surface, ensuring proper placement, and maintaining the magnetic or suction components, you’ll likely find that your robot works better than ever. Sometimes, it’s the smallest adjustments that make the biggest difference—like a quick battery change or sensor alignment. Keep an eye on these tips, and your window robot will stay firmly in place, leaving your glass spotless and streak-free.