
To keep your robot vacuum guiding well, regularly clean its sensors using a soft cloth or cotton swab dampened with alcohol. Guarantee sensors are properly calibrated and free of dust or debris, and check their placement for any misalignment or damage. Keep sensor pathways clear of obstacles. If you notice persistent issues like crashing or missing spots, troubleshooting or professional help may be needed. Stay tuned for more detailed tips to maintain peak sensor performance.
Key Takeaways
- Regularly clean sensors with microfiber cloths or cotton swabs dampened with alcohol to prevent dirt buildup.
- Ensure sensors are properly calibrated after collisions or hardware adjustments for accurate navigation.
- Check sensor placement for signs of misalignment or damage and correct or replace as needed.
- Keep sensor pathways clear of obstructions like cables, furniture, or debris to maintain proper obstacle detection.
- Troubleshoot persistent issues by updating firmware, performing calibration, and seeking professional repair if problems persist.
Understanding Your Robot Vacuum’s Sensor System
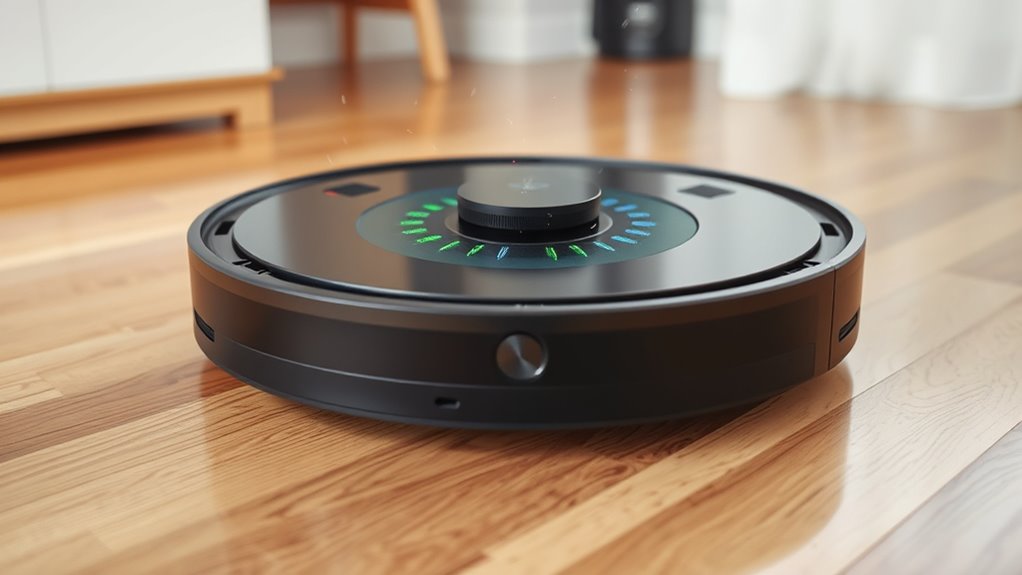
Your robot vacuum relies on a variety of sensors to navigate and clean effectively. Understanding how these sensors work begins with sensor calibration, which guarantees they provide accurate readings. Proper sensor placement is vital because it affects how well the vacuum detects obstacles, edges, and dirt. If sensors are misaligned or dirty, your robot may miss spots or bump into furniture. Regularly calibrating sensors helps maintain their accuracy, especially after bumps or collisions. Keep in mind that correct sensor placement, whether during initial setup or after cleaning, allows the sensors to function at their best. When your robot’s sensors are properly calibrated and positioned, navigation becomes smoother, and cleaning efficiency improves. This foundation helps your vacuum avoid obstacles and cover your floors thoroughly.
Tools Needed for Sensor Cleaning
To effectively clean your robot vacuum’s sensors, you’ll need a few basic tools that are gentle but effective. A soft microfiber cloth is essential for wiping dust and smudges without scratching. A small brush, like a camera or electronics brush, helps dislodge debris from tight spots. Additionally, a gentle cleaning solution or isopropyl alcohol can sanitize sensors during maintenance. Proper tool maintenance ensures these items stay effective over time.
| Tool | Purpose |
|---|---|
| Microfiber Cloth | Remove dust and smudges |
| Small Brush | Dislodge debris from sensors |
| Cleaning Solution | Sanitize sensors during maintenance |
Using these tools ensures reliable sensor cleaning and prolongs your robot vacuum’s lifespan.
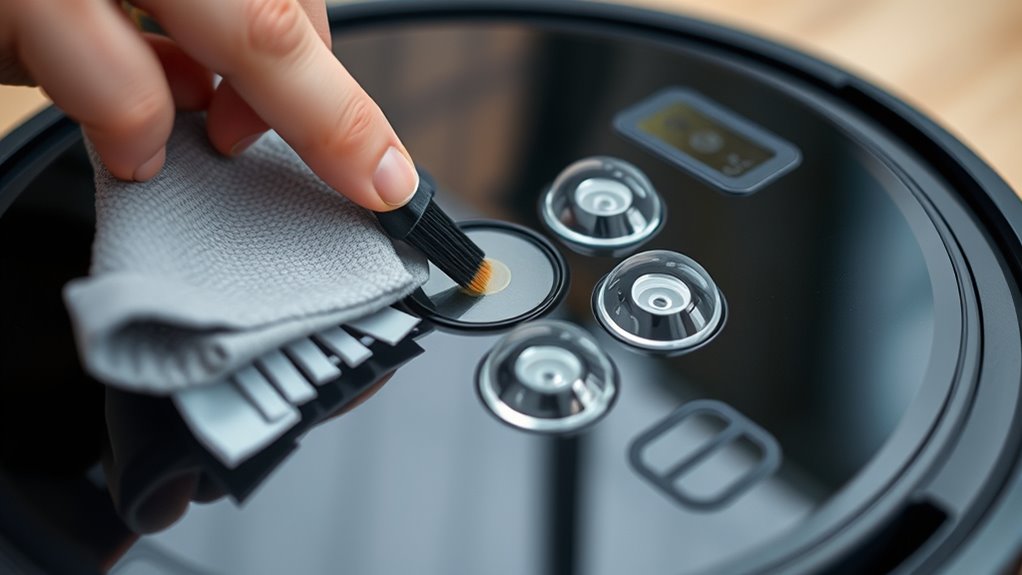
Step-by-Step Guide to Cleaning Sensors
Begin by turning off your robot vacuum and locating its sensors, usually positioned on the front, sides, or bumper. Gently remove any debris or dust using a soft cloth or brush, making sure you don’t damage the sensor placement. Use a microfiber cloth or cotton swab lightly dampened with rubbing alcohol to clean the sensor surface, avoiding excess liquid. Once cleaned, power on the robot and run a calibration if your model supports it—this helps optimize sensor performance. If needed, repeat the cleaning process to remove stubborn dirt or smudges. Proper cleaning and sensor calibration ensure your vacuum maintains accurate obstacle detection and navigation. Regularly following these steps keeps sensors in top shape, preventing navigation errors and prolonging device lifespan.
Tips for Maintaining Optimal Sensor Performance
To keep your cleaning robot’s sensors working at their best, make sure you clean them regularly and keep the area clear of obstructions. It’s also important to update the firmware periodically to guarantee peak performance. Staying on top of these simple tips helps your robot navigate efficiently and clean thoroughly.
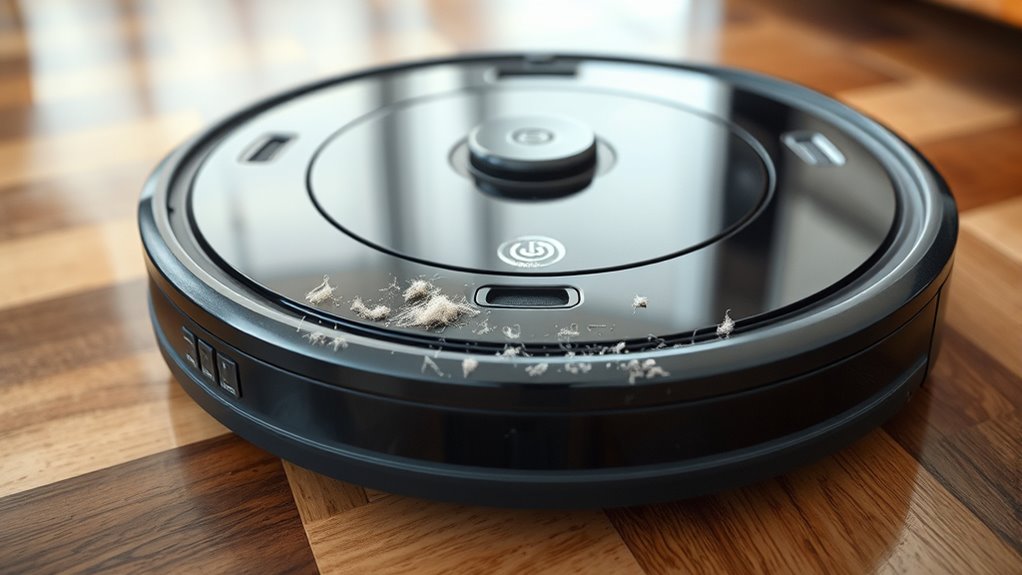
Regular Sensor Cleaning
Regularly cleaning your robot’s sensors is essential for ensuring peak performance. Dust, dirt, and smudges can interfere with sensor calibration, causing inaccurate readings. When sensors are dirty, your robot may struggle with obstacle detection, leading to missed spots or collisions. To maintain ideal function, gently wipe sensors with a soft, lint-free cloth or a microfiber cloth dampened with a small amount of rubbing alcohol. Avoid using harsh chemicals or abrasive materials that could damage the sensors. Regular cleaning helps keep sensors clear of debris, ensuring accurate navigation and efficient cleaning paths. Check sensors frequently, especially after heavy use or in dusty environments. Consistent maintenance prevents sensor buildup, keeps obstacle detection sharp, and extends your robot vacuum’s lifespan.
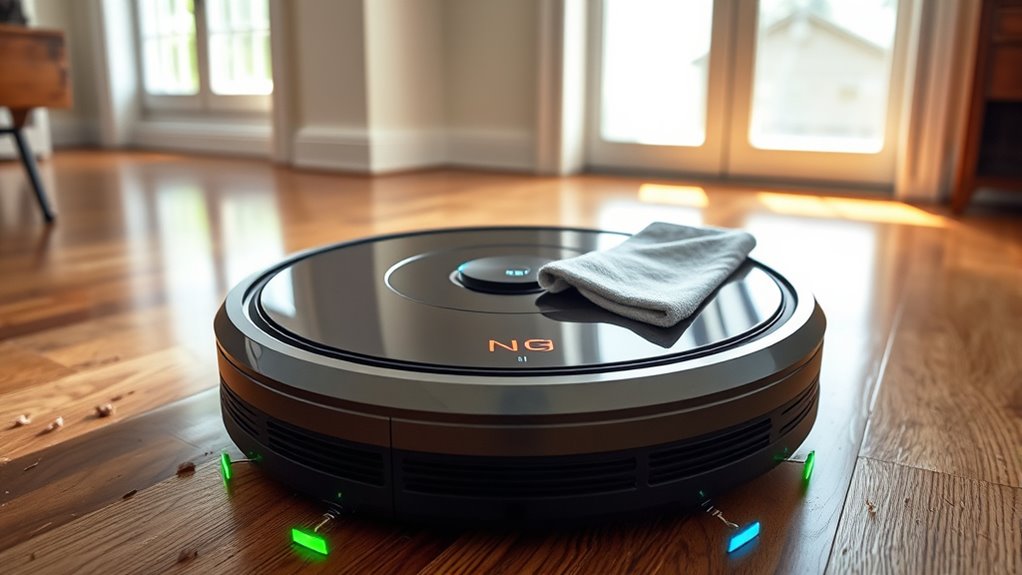
Avoid Sensor Obstructions
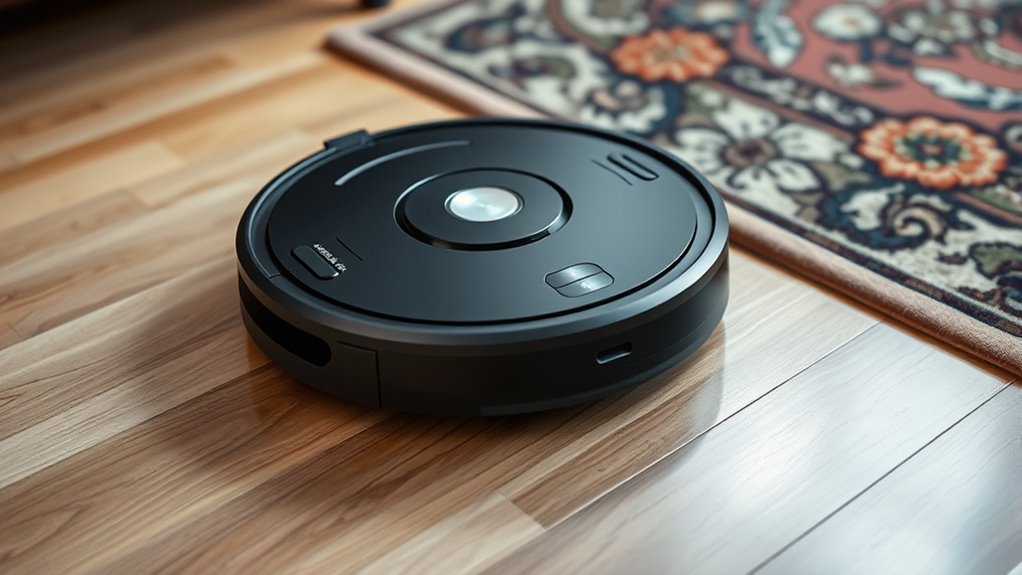
Keeping sensor paths clear of obstructions is essential for your robot’s peak performance. Proper sensor placement ensures that sensors have an unobstructed view, helping your robot navigate efficiently. Regularly check that nothing blocks the sensors, such as cables, decorations, or furniture. Obstruction prevention is key; even small objects can interfere with sensor signals and cause navigation errors. Position objects away from sensor pathways and avoid stacking items near the robot’s location. Clean surrounding surfaces to prevent dust buildup that can mimic obstructions. If you notice the robot struggling or misjudging obstacles, double-check sensor placement and clear any potential blockages immediately. Maintaining clear sensor paths guarantees your robot can accurately detect obstacles, leading to better cleaning coverage and fewer navigation issues.
Update Firmware Periodically
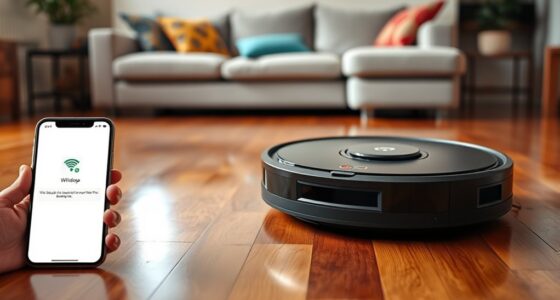
Updating your robot’s firmware regularly guarantees that its sensors perform at their best. Firmware updates often include improvements to sensor calibration, ensuring your vacuum navigates accurately and efficiently. By keeping the firmware current, you help prevent issues caused by outdated software that can lead to misreads or navigation errors. Regular updates also patch bugs and enhance sensor responsiveness, maintaining peak performance. Check the manufacturer’s app or website periodically for available firmware updates, and follow the provided instructions to install them. Doing so ensures your robot’s sensors stay calibrated and functioning properly. Staying proactive with firmware updates not only improves navigation but also extends the lifespan of your robot vacuum, keeping it operating smoothly for longer.
Common Sensor Issues and Troubleshooting
Sensor issues are a common cause of cleaning robot malfunctions, often resulting from dirt, debris, or misalignment that interfere with their ability to detect obstacles and navigate effectively. To troubleshoot, start by inspecting the sensors for dirt or obstructions and clean them gently. Next, perform sensor calibration if your robot offers this feature, ensuring accurate obstacle detection. Finally, check the sensors’ alignment; misaligned sensors can cause navigation errors. Specifically, focus on these steps:
- Clean all sensor surfaces with a soft cloth to remove dirt and debris.
- Recalibrate the sensors following your robot’s instructions to improve obstacle detection.
- Examine sensor placement for misalignment or damage, correcting or replacing as needed.
Addressing these issues helps your robot maintain proper sensor function, optimizing navigation and cleaning performance.
When to Seek Professional Help
If your cleaning robot keeps malfunctioning despite troubleshooting, it’s time to call in a professional. Persistent sensor issues, navigation errors that won’t resolve, or complex electrical repairs should be handled by experts. Don’t risk damaging your device further—seek help when problems persist.
Persistent Sensor Malfunctions
Persistent sensor malfunctions can be frustrating, especially when your cleaning robot repeatedly struggles to navigate or detect obstacles. If cleaning issues persist despite cleaning or resetting sensors, it’s time to seek professional help. First, consider if sensor calibration has been correctly performed; improper calibration can hinder obstacle detection. Second, check for underlying hardware issues, such as damaged sensors or wiring problems, which may require expert repair. Third, evaluate whether software updates or resets have been applied; outdated firmware can cause persistent errors. If these steps don’t resolve the problem, professional servicing guarantees accurate diagnosis and repair, restoring your robot’s obstacle detection and navigation capabilities efficiently. Don’t ignore ongoing malfunctions—they’re signals for expert intervention.
Unresolved Navigation Errors
When cleaning robot sensors continue to malfunction despite troubleshooting, unresolved navigation errors become a clear sign that professional help is needed. If your robot repeatedly gets stuck, misses spots, or crashes into furniture, it may be due to sensor calibration issues or persistent software glitches. These problems often require expert intervention to properly recalibrate sensors or update the firmware. Attempting to fix complex software issues yourself can sometimes worsen the problem. If you’ve cleaned and realigned sensors, yet navigation issues persist, it’s time to seek professional assistance. Technicians can diagnose deeper hardware or software faults, ensuring your robot’s sensors function correctly. Addressing these unresolved errors promptly helps maintain ideal navigation and prolongs your vacuum’s lifespan.
Complex Electrical Repairs
Complex electrical repairs on your cleaning robot often require professional expertise because they involve delicate components and intricate wiring that can be easily damaged if handled improperly. If you notice persistent issues with sensor calibration or suspect problems within the electrical circuit, it’s best to seek expert help. Here are when to call a professional:
- When sensors fail to calibrate properly, indicating potential electrical circuit issues.
- If replacing damaged wiring or circuit boards is necessary, risking further damage if mishandled.
- When troubleshooting complex electrical faults beyond simple reset or cleaning steps.
Attempting these repairs yourself can cause more harm than good, especially with sensitive components. A qualified technician can diagnose and fix electrical circuit problems accurately, ensuring your robot navigates smoothly.
Frequently Asked Questions
How Often Should I Clean My Robot Vacuum’s Sensors?
You should clean your robot vacuum’s sensors weekly to prevent dust accumulation and maintain proper sensor calibration. Dust buildup can hinder navigation, so use a soft, dry cloth or compressed air to gently remove debris. Regular cleaning ensures your robot can navigate efficiently, avoiding obstacles and covering your floor thoroughly. Doing this weekly keeps your vacuum running smoothly and extends its lifespan, guaranteeing ideal cleaning performance.
Can Sensor Cleaning Improve My Robot’s Battery Life?
Surprisingly, cleaning your sensors can boost your robot’s battery life. When you maintain sensor calibration and improve sensor sensitivity, your vacuum navigates more efficiently, wasting less power on unnecessary routes or getting stuck. So, don’t dismiss those tiny sensors—they’re the secret to longer battery life. Regular cleaning guarantees your robot stays sharp, saving you time and energy, and keeping it running smoothly for longer.
Are There Specific Cleaning Products I Should Avoid?
You should avoid chemical cleaners and abrasive tools when cleaning your robot vacuum sensors. These substances can damage sensitive components, impairing guidance. Instead, use a soft, damp cloth to gently wipe sensors and avoid harsh chemicals or rough tools. Regular, careful cleaning helps maintain sensor accuracy and keeps your robot vacuum maneuvering smoothly without risking damage from inappropriate cleaning products.
Do Sensors Need Replacing Over Time?
Think of your robot vacuum’s sensors as its guiding stars—over time, dust and debris can dim their shine, making sensor calibration less effective. You might need sensor replacement if your device struggles to steer or detects obstacles inaccurately. Keep an eye on its performance, and if calibration no longer restores smooth sailing, replacing the sensors guarantees your vacuum stays on course, guiding your home with confidence and grace.
How Can I Prevent Future Sensor Dirt Buildup?
To prevent future sensor dirt buildup, regularly clean your robot vacuum’s sensors with a soft, dry cloth. Keep sensors calibrated as recommended by the manufacturer to guarantee peak performance. Avoid dust accumulation by checking and cleaning sensors weekly, especially after cleaning dusty areas. Proper calibration and consistent cleaning help maintain accurate navigation, preventing issues caused by dirt and dust. This proactive approach keeps your robot vacuum’s sensors functioning effectively over time.
Conclusion
So, you’ve become a sensor cleaning pro, ensuring your robot vacuum navigates like a champ. Ironically, all that effort might seem unnecessary if you forget to keep the sensors clean—then you’ll be back to manually steering your “smart” helper. But hey, at least now you know how to keep it running smoothly, avoiding those frustrating crashes and missed spots. After all, a little maintenance goes a long way—who knew being a sensor specialist could be so rewarding?