
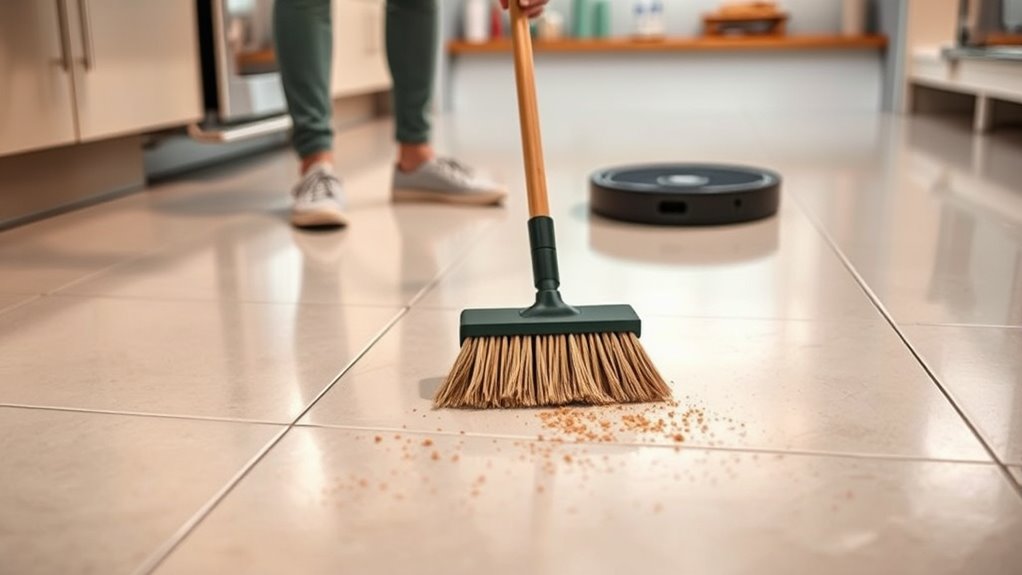
Before using your robot mop, clear all clutter from the floor, including shoes, cords, and small items, to prevent obstacles. Sweep or vacuum to remove pet hair and debris, which helps the robot clean more effectively. Check that water reservoirs and cleaning pads are clean and properly installed, and inspect brushes and sensors for dust or grime. Proper preparation reduces manual effort and keeps your robot working smoothly—if you want more tips, keep exploring these essential steps.
Key Takeaways
- Clear floors of clutter, cords, shoes, and small items to ensure smooth robot navigation.
- Vacuum or sweep pet hair and debris beforehand, especially in high-traffic and pet areas.
- Check and clean the robot’s brushes, sensors, water reservoir, and cleaning pads for optimal performance.
- Review and adjust cleaning settings or modes based on floor type and specific cleaning needs.
- Ensure proper installation of filters and pads, and consider ventilation to aid floor drying after mopping.
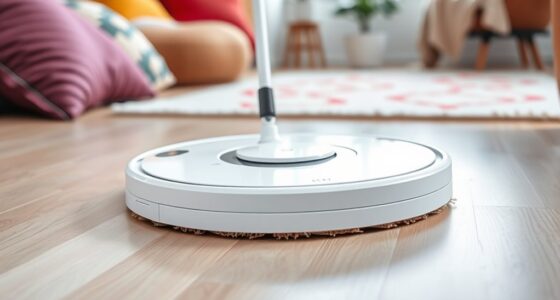
Getting your home ready for a robot mop guarantees it works effectively and avoids potential issues. The key to successful cleaning starts with proper preparation, which includes steps like robot mop maintenance and pet hair removal. When your home is free of obstacles and debris, your robot mop can navigate smoothly and clean more thoroughly. Before starting, clear the floor of any clutter—shoes, cords, or small items—so the device can move freely without getting stuck or damaging your belongings.
Performing robot mop maintenance beforehand is essential. Check the mop’s brushes, wheels, and sensors for dust, hair, or grime. Cleaning these parts regularly ensures peak performance and extends the lifespan of your device. For instance, hair can tangle in brushes or clog sensors, reducing the robot’s efficiency. Pay special attention to pet hair removal; if you have furry friends, it’s wise to vacuum or sweep the floor beforehand to remove excess hair. This prevents the robot from getting overwhelmed with pet fur, which can cause it to work harder, slow down, or miss spots altogether.
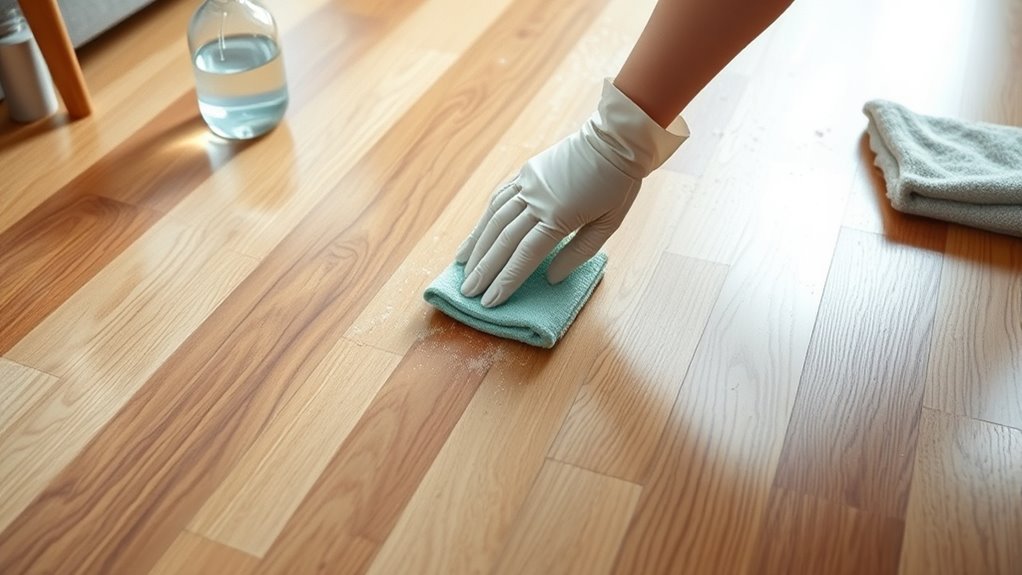
Another vital step is to guarantee the water reservoir and cleaning pads are clean and properly installed. Dirty or clogged reservoirs can hinder mop operation, and worn-out pads diminish cleaning effectiveness. Additionally, verify that the mop’s filters are clean—clean filters improve suction and sensor accuracy, leading to a more thorough clean. If your robot has replaceable parts, like brushes or filters, check their condition and replace them if needed, aligning with good robot mop maintenance practices.
It’s also beneficial to review your robot’s settings or app controls before starting. Adjust cleaning modes according to your floor type—hardwood, tile, or carpet—to maximize results. Scheduling regular cleanings or initiating manual sessions when the floor looks particularly dirty can help maintain consistent cleanliness. If your robot mop has specific features like edge cleaning or spot cleaning, activate those to target problem areas.
Furthermore, consider ventilation considerations in your cleaning area to help dry the floor quickly after mopping, especially in humid environments. Finally, make sure your pet’s feeding area and high-traffic zones are well-maintained. If your pets shed heavily, consider grooming them regularly to minimize pet hair removal challenges during cleaning sessions. Consistent home prep not only keeps your robot performing at its best but also reduces the need for frequent manual cleaning afterward. Taking these simple steps creates a smooth cleaning process, guaranteeing your robot mop tackles dirt and pet hair efficiently, leaving your floors spotless and your home more comfortable.
Frequently Asked Questions
Can a Robot Mop Handle Pet Hair Effectively?
Yes, a robot mop can handle pet hair effectively if you take a few steps. Regular pet hair removal from floors prevents hair clogs and keeps the mop functioning smoothly. Make sure to clear larger hair tangles and vacuum beforehand, as this reduces hair clog prevention issues. This way, your robot mop can efficiently clean pet hair, leaving your floors spotless and free of pet fur.
How Often Should I Replace the Robot Mop’s Mop Pad?
You should replace your robot mop’s mop pad every 2 to 3 months, depending on the mop pad lifespan and how often you clean. If you notice decreased cleaning effectiveness or odors, it’s time for a replacement. Regularly check for wear and tear, and don’t wait too long—using a worn-out pad can hinder performance. Following the recommended replacement frequency guarantees your robot mop works efficiently and keeps your floors spotless.
Is It Necessary to Move Furniture Before Mopping?
Yes, you should move furniture before mopping your floors. Relocating furniture and removing obstacles guarantee the robot mop can access all areas without getting stuck or missing spots. Clearing the space allows for a thorough clean, prevents potential damage, and helps the device work efficiently. Take a few minutes to rearrange furniture and eliminate clutter for the best mopping results.
What Should I Do if the Robot Mop Gets Stuck?
If your robot mop gets stuck due to navigation issues, stop it and carefully remove any obstacles blocking its path. Check for tangled cords, loose rugs, or small objects that may be causing the problem. Clear these obstacles and make sure the floor is free of debris. Once you’ve removed the obstacle, restart the mop and monitor its navigation to prevent future issues. Regular obstacle removal keeps your robot functioning smoothly.
Can I Use Cleaning Solutions With the Robot Mop?
You can’t use cleaning solutions with your robot mop unless the manufacturer approves. Using unapproved solutions can damage the mop pad, cause clogs, or reduce cleaning efficiency. Instead, rely on water and replace the mop pad regularly to maintain cleanliness. Keep your cleaning routine consistent, and you’ll enjoy a spotless space without risking damage. Remember, proper prep prevents problems and preserves your robot’s performance!
Conclusion
Now that you’re ready to start your robot mop, remember that pre-cleaning sets the stage for perfect results. Did you know that regular pre-cleaning can extend your robot’s lifespan by up to 30%? Taking a few extra minutes to clear debris and obstacles not only guarantees a thorough clean but also keeps your device running smoothly longer. So, make those prep steps a habit, and enjoy spotless floors with less effort!