
To set up no-go zones for your robot vacuum, use the app to mark restricted areas by tapping on the map and adjusting shape or size, or create virtual boundaries with physical barriers like virtual walls. You can also strategically place physical obstacles to prevent entry into sensitive zones. Regularly update and calibrate sensors to keep zones effective. Stay tuned for more tips on maintaining and customizing your vacuum’s no-go zones for ideal cleaning.
Key Takeaways
- Use the vacuum’s app to access and edit the map, then tap to designate restricted no-go zones.
- Adjust zone shapes and sizes to accurately cover sensitive or off-limits areas.
- Calibrate sensors regularly and keep the device clean to ensure zones are recognized correctly.
- Combine virtual boundaries with physical barriers for enhanced zone enforcement.
- Revisit and update no-go zones periodically to reflect changes in room layout or obstacles.
Understanding Your Robot Vacuum’s No-Go Zone Features
To make the most of your robot vacuum, it’s important to understand how its no-go zone features function. Your vacuum uses advanced vacuum navigation to create a map of your space, allowing it to efficiently clean while avoiding restricted areas. Obstacle detection plays a key role here, helping the robot recognize objects and boundaries in real-time. When obstacles are detected, the vacuum adjusts its path to prevent collisions, which is essential for protecting delicate items and preventing mishaps. No-go zones can be set to keep the vacuum away from specific areas, such as pet bowls or cables. By understanding how vacuum navigation and obstacle detection work together, you ensure your robot cleans thoroughly without interfering with the spaces you want to keep off-limits.
Using the App to Mark No-Go Areas
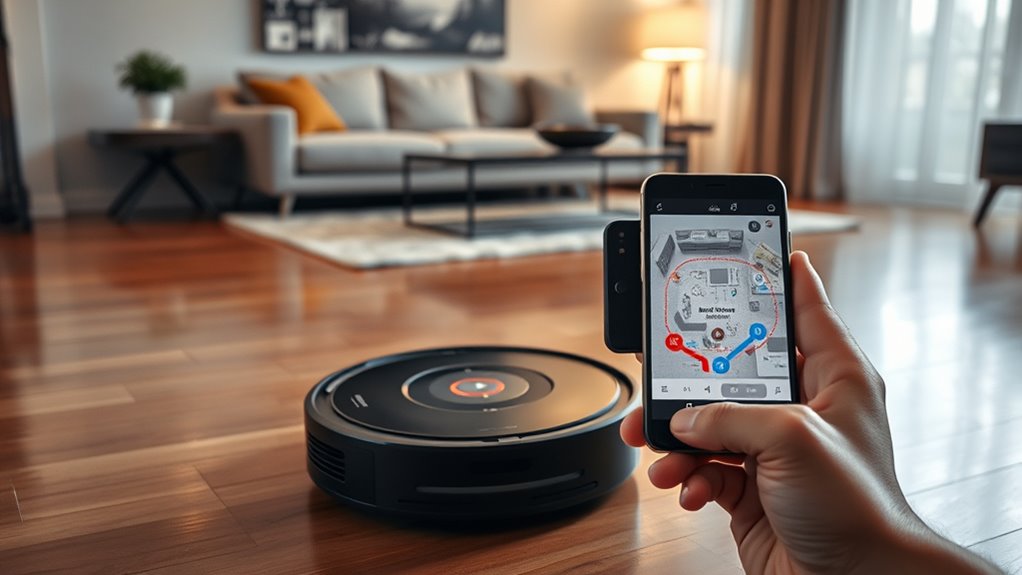
Using the app to mark no-go areas makes managing your robot vacuum straightforward. It allows you to customize cleaning zones with ease, leveraging mapping accuracy for precise placement. Before starting, verify your app is compatible with your vacuum model. Once in the app, you can tap on the map to designate restricted zones directly. This feature helps prevent the vacuum from entering cluttered or sensitive areas. Keep in mind that some apps allow you to adjust the shape and size of no-go zones for better control. Additionally, frequent map updates improve the app’s ability to recognize no-go zones accurately. Confirm your app’s features and compatibility to maximize control over your robot’s cleaning path. This method offers a quick, effective way to optimize your vacuum’s performance.
Manually Setting Boundaries With Virtual Walls or Barriers
You can manually set boundaries for your robot vacuum using physical barriers or virtual walls. Programming these virtual walls or adjusting boundary settings helps keep the vacuum out of restricted areas. By customizing these options, you gain better control over where your robot cleans.
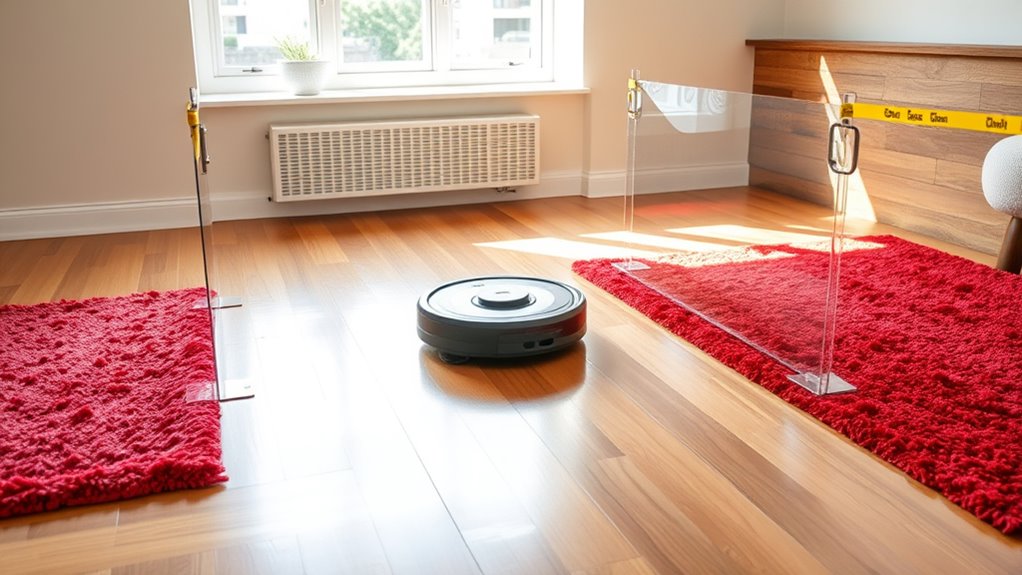
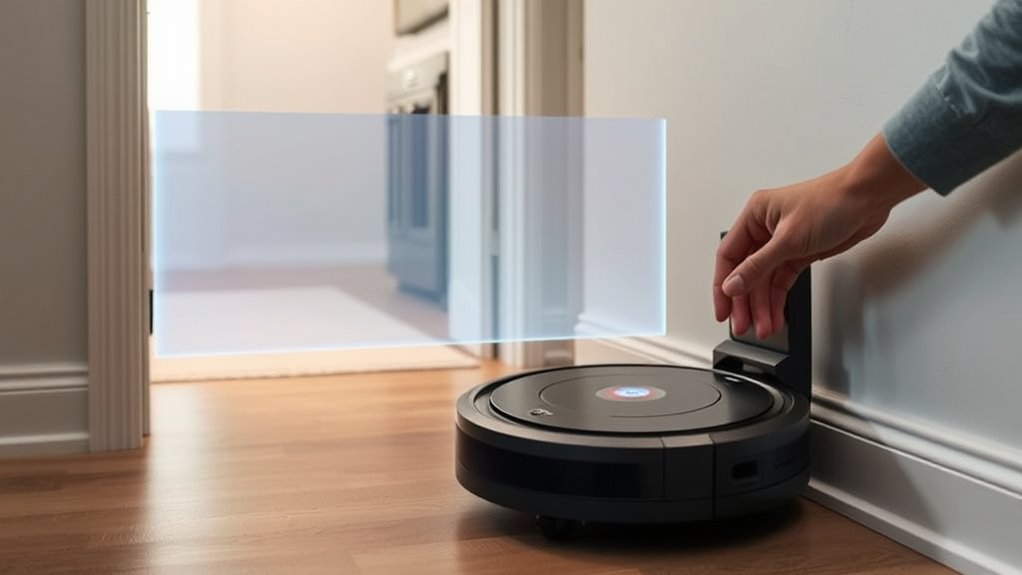
Using Physical Barriers
Physical barriers like virtual walls or barriers allow you to manually set boundaries that prevent robot vacuums from entering certain areas. These barriers work alongside obstacle detection and require proper sensor calibration to be effective. By positioning physical objects or barriers strategically, you can guide your vacuum away from sensitive zones. Verify the sensors are calibrated correctly so the robot detects barriers accurately.
- Use sturdy, opaque objects to block sensors effectively.
- Place barriers at entry points where sensors might struggle.
- Regularly check sensor calibration for consistent obstacle detection.
- Combine physical barriers with virtual walls for added control.
- Test the setup to ensure the robot respects the boundaries reliably.
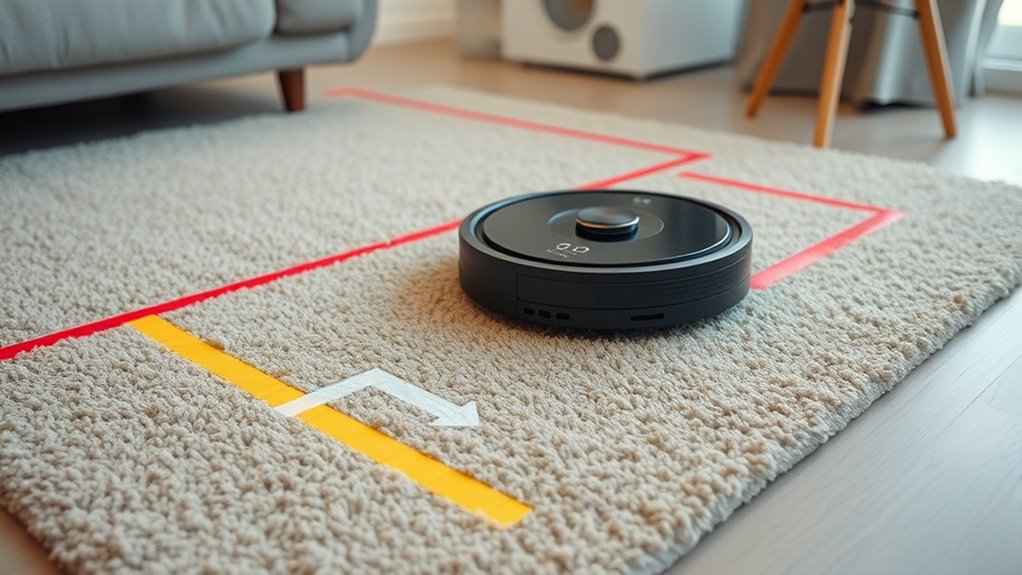
Programming Virtual Walls
Programming virtual walls allows you to set precise boundaries that the robot vacuum will avoid without relying on physical barriers. By manually placing virtual walls or barriers through your app, you control where your vacuum cleans. Proper sensor calibration guarantees these virtual boundaries are accurate, preventing accidental entry. This also helps optimize battery management by avoiding unnecessary detours or re-tracing paths. When setting virtual walls, consider areas like pet beds or fragile decor, which you want to protect. Use the following table to visualize your boundary choices:
| Area to Protect | Virtual Wall Placement | Reason |
|---|---|---|
| Pet Bed | Block virtual barrier | Prevent disturbance |
| Fragile Decor | Set virtual boundary | Avoid damage |
| Charging Dock | Limit access | Save battery, charge |
Virtual walls give you peace of mind, keeping your home tidy and safe.
Adjusting Boundary Settings
Adjusting boundary settings manually with virtual walls or barriers gives you direct control over where your robot vacuum cleans. This boundary customization allows you to create precise no-go zones, ensuring sensitive areas are avoided. By setting up virtual walls, you can prioritize certain zones for cleaning while restricting others, optimizing your vacuum’s efficiency. Proper zone prioritization helps manage high-traffic areas and delicate spaces effectively. To enhance your setup, consider these tips:
- Use physical barriers or magnetic strips for added boundary clarity
- Regularly update virtual wall placements as your space changes
- Combine boundary adjustments with scheduled cleaning for better zone control
- Test boundary effectiveness to prevent accidental entry into restricted zones
- Adjust boundaries based on furniture rearrangements or seasonal changes
These steps help you tailor your vacuum’s boundary customization for excellent cleaning performance.
Adjusting No-Go Zones for Different Rooms and Spaces

Since different rooms and spaces serve unique purposes, customizing no-go zones helps guarantee your robot vacuum cleans effectively without interference. To optimize performance, adjust no-go zones based on each area’s needs, considering mapping accuracy and privacy considerations. For example, you might restrict access to bedrooms or personal spaces, while allowing open access to common areas. Use your robot’s app to define these zones precisely for different rooms. Keep in mind that areas with poor mapping accuracy may require manual adjustments to ensure proper coverage. Here’s an example of customizing zones:
| Room Type | No-Go Zone Purpose | Tips |
|---|---|---|
| Bedrooms | Protect privacy, avoid clutter | Use detailed zone mapping |
| Kitchen | Prevent food debris spread | Adjust for high-traffic areas |
| Living Room | Keep off delicate furniture | Regular updates improve accuracy |
| Bathrooms | Avoid water-sensitive zones | Verify zones after cleaning |
Troubleshooting Common Issues With No-Go Zones
Troubleshooting no-go zones can sometimes be tricky when your robot vacuum isn’t behaving as expected. If it ignores boundaries or keeps crossing them, start by checking sensor calibration—dirty or misaligned sensors can cause detection issues. Make certain your vacuum’s battery is maximized; low power can affect navigation and zone recognition. Sometimes, obstacles or clutter near no-go zones confuse the sensors, so clear the area. Verify that your no-go zones are correctly set in the app, and reprogram them if necessary. Additionally, update your vacuum’s firmware to fix bugs that might interfere with zone enforcement. Finally, inspect for software glitches that might prevent proper zone recognition or calibration, and reset your device if problems persist.
- Clean sensors regularly to improve detection
- Recalibrate sensors if zones aren’t recognized
- Make sure battery is charged for best performance
- Clear clutter around no-go zones
- Update firmware and reset the vacuum if needed
Tips for Maintaining and Updating Your No-Go Settings

Regularly maintaining and updating your no-go zones guarantees your robot vacuum continues to navigate efficiently and avoid restricted areas. To do this, periodically recalibrate sensors to ensure accurate detection of obstacles and boundaries. Keep your battery optimized by scheduling regular charging and avoiding deep discharges, which helps maintain consistent performance. When updating no-go zones, review and adjust them as your home layout changes or new hazards appear. Use this table to understand common tips:
| Tip | Benefit |
|---|---|
| Sensor calibration | Improves obstacle detection accuracy |
| Revisit zones regularly | Ensures no-go zones stay effective |
| Update app settings | Reflects changes in layout |
| Keep battery charged | Prevents interruptions during cleaning |
| Clean sensors | Maintains sensor calibration |
Frequently Asked Questions
Can No-Go Zones Be Temporarily Disabled for Special Cleaning Sessions?
Yes, you can temporarily disable no-go zones for special cleaning sessions. Most robot vacuums allow you to do this through their app or control panel. Simply select the no-go zones you want to bypass and enable temporary disablement. This feature provides cleaning exceptions without permanently changing your zone settings, making it easy to adapt your robot’s schedule for deep cleans or special messes.
Are No-Go Zones Compatible With All Robot Vacuum Brands?
No-go zones aren’t compatible with all robot vacuum brands. Compatibility depends on the brand’s mapping technology, as some use advanced systems like LiDAR or smart mapping that support no-go zones, while others may lack this feature. Before setting up no-go zones, check your vacuum’s brand compatibility and verify it has the necessary mapping technology. This way, you can customize cleaning areas effectively and avoid restricted spots.
How Do No-Go Zones Affect the Vacuum’s Cleaning Efficiency?
You might notice that no-go zones improve your robot vacuum’s navigation accuracy and obstacle avoidance, leading to more efficient cleaning. When you set these zones, the vacuum avoids problematic areas, reducing missed spots and preventing it from getting stuck. This focus allows for better coverage, especially in tight or cluttered spaces. Ultimately, no-go zones help your vacuum clean more thoroughly while avoiding obstacles, enhancing overall cleaning performance.
Can I Set No-Go Zones Outdoors or in Garage Areas?
Yes, you can set no-go zones outdoors or in garage areas. Use your vacuum’s app to mark outdoor obstacles like rocks, wires, or garden tools, preventing the robot from damaging itself or missing spots. For garages, restrict access with no-go zones around clutter, oil spills, or uneven surfaces. This guarantees your vacuum cleans efficiently while avoiding potential hazards in these areas, keeping your space tidy and safe.
What Safety Precautions Should I Take When Setting No-Go Zones?
Did you know that 65% of robot vacuum mishaps happen due to improper zone setup? When setting no-go zones, always prioritize hazard identification to prevent accidents. Use zone customization features carefully, avoiding areas with fragile items or potential obstacles. Keep cords and small objects out of the way, and regularly check your zones for updates. These precautions help make certain of safe operation and protect both your home and your device.
Conclusion
Think of setting no-go zones like drawing a map for your robot vacuum’s adventures. Just last week, I marked off my messy kitchen—now, my vacuum avoids those crumbs, saving me time and frustration. With a few simple steps, you can guide your robot to focus on what matters most, like a trailblazer charting a clear path. Keep your boundaries updated, and your smart cleaner will navigate like a pro—free to do its job without wandering into trouble.