To troubleshoot your robot vacuum, start by clearing obstacles and cleaning the sensors with a soft cloth to improve navigation. Make certain the firmware is up to date, recalibrate if needed, and check the battery and charging contacts for maximum power. Adjust the environment for better sensor performance, and reset the device if glitches persist. For detailed fixes on all common problems, you’ll find tips that help keep your vacuum running smoothly and efficiently.
Key Takeaways
- Clear clutter and clean sensors regularly to prevent navigation errors and ensure obstacle detection.
- Keep firmware updated and recalibrate the vacuum as per manufacturer instructions for optimal performance.
- Inspect and maintain batteries, replacing if runtime diminishes, and ensure proper charging dock connection.
- Troubleshoot navigation issues by checking for obstacles, cleaning sensors, and updating firmware if problems persist.
- Follow environment setup tips such as good lighting and calibration procedures to enhance sensor accuracy and navigation.

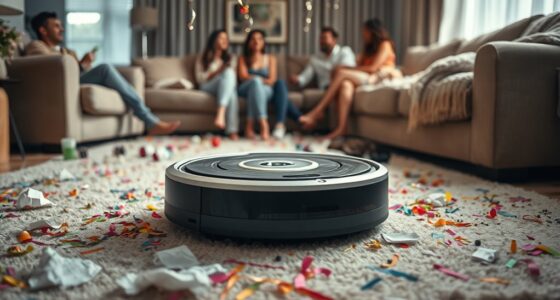
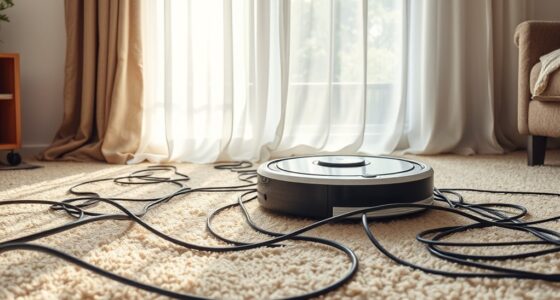
If your robot vacuum isn’t working properly, troubleshooting can quickly get frustrating. One of the most common problems you might encounter involves navigation errors. These happen when your vacuum struggles to move around your space efficiently, bumping into furniture, missing spots, or getting stuck. Often, navigation errors are caused by obstacles blocking the sensors or by a dirty or misaligned sensor. To fix this, start by clearing the vacuum’s path of any clutter, like cords or small objects. Next, check the sensors on the bottom and sides of your device—clean them gently with a soft cloth to remove dust or smudges that could interfere with their ability to detect obstacles. If the navigation still seems off, try resetting the vacuum or updating its firmware, as software glitches can cause navigation issues. Sometimes, recalibrating the device helps, so consult your user manual for specific calibration steps. Ensuring that the vacuum has a clear, well-lit environment can also improve its sensor performance. Proper sensor maintenance can prevent many navigation problems before they start. Battery issues are another frequent source of trouble. If your robot isn’t charging properly or keeps shutting off unexpectedly, the battery might be the culprit. First, check that the charging dock is plugged in and functioning correctly. Make sure the charging contacts on both the dock and the vacuum are clean and free of debris. If your vacuum isn’t charging, try repositioning it on the dock or resetting the charging connection. Sometimes, the battery itself may need replacing, especially if it’s old or has been frequently drained to zero. Many models allow you to remove and replace the battery; if yours does, follow the manufacturer’s instructions carefully. If the battery seems to hold a charge but the runtime is shorter than usual, a replacement might be necessary. Also, avoid leaving the vacuum unused for long periods without charging, as this can diminish the battery’s capacity over time. In addition, make sure your vacuum’s firmware is up to date, since manufacturers often release updates that improve battery management and navigation algorithms. Regularly inspecting and maintaining these components can prevent many issues from escalating. If troubleshooting these areas doesn’t fix your problem, consult the user manual or contact customer support for further assistance. Remember, small maintenance steps like cleaning sensors, checking the battery, and ensuring a proper charging setup can considerably improve your robot vacuum’s performance and help you avoid larger, more complex repairs down the line.
Frequently Asked Questions
Can I Repair My Robot Vacuum Myself or Should I Contact Support?
You can try DIY repairs if you’re comfortable with small tasks like cleaning brushes or replacing filters. However, for more complex issues like motor failure or software glitches, it’s best to seek professional assistance. Attempting major repairs yourself might cause further damage or void your warranty. When in doubt, contacting support guarantees your robot vacuum gets properly fixed without risking additional problems.
How Often Should I Replace the Filters and Brushes?
You’ll find that regular filter maintenance and brush replacement keep your robot vacuum performing its best. Typically, change filters every 2-3 months, and replace brushes every 6-12 months, depending on usage. Imagine the surprise when your vacuum effortlessly picks up dirt just like new. Staying on top of these simple tasks ensures peak cleaning, prevents clogs, and extends your device’s lifespan, saving you time and money in the long run.
Why Does My Robot Vacuum Make Unusual Noises?
Your robot vacuum makes unusual noises because of causes like debris caught in the brushes, worn-out parts, or loose components. Regular maintenance tips, such as cleaning the brushes and filters, can help diminish noise. Check for any objects obstructing the wheels or brushes and tighten loose screws. Addressing these noise causes promptly ensures your vacuum runs smoothly, extending its lifespan and maintaining efficient cleaning performance.
Is It Safe to Use a Damaged Charging Dock?
Using a damaged charging dock isn’t safe because it can cause electrical hazards or further damage your robot vacuum. For charging dock safety, avoid plugging in or using a compromised dock. Instead, opt for damaged dock repair or replacement promptly to guarantee safe charging. Always inspect your dock regularly and replace it if you notice any damage to prevent accidents and keep your robot vacuum functioning properly.
What Should I Do if My Robot Gets Stuck Frequently?
If your robot keeps getting stuck, don’t ignore the warning signs. You should check its obstacle detection sensors and clear any debris that may be confusing its navigation algorithms. Sometimes, rearranging furniture or removing clutter helps the robot navigate smoothly. Keep an eye on its path, and update its software if available. This proactive approach guarantees your robot can conquer tricky spots and clean your space effortlessly.
Conclusion
Now that you know the common fixes, you might wonder if your robot vacuum’s issues are just minor glitches. Many problems, like stuck wheels or sensor errors, often stem from simple causes and quick fixes. Trusting these troubleshooting steps can save you time and money. So, next time your vacuum acts up, try these solutions first—you might just find that your theory about a quick fix is spot on, keeping your floors spotless with minimal fuss.